1 / 17Use ← → to flip
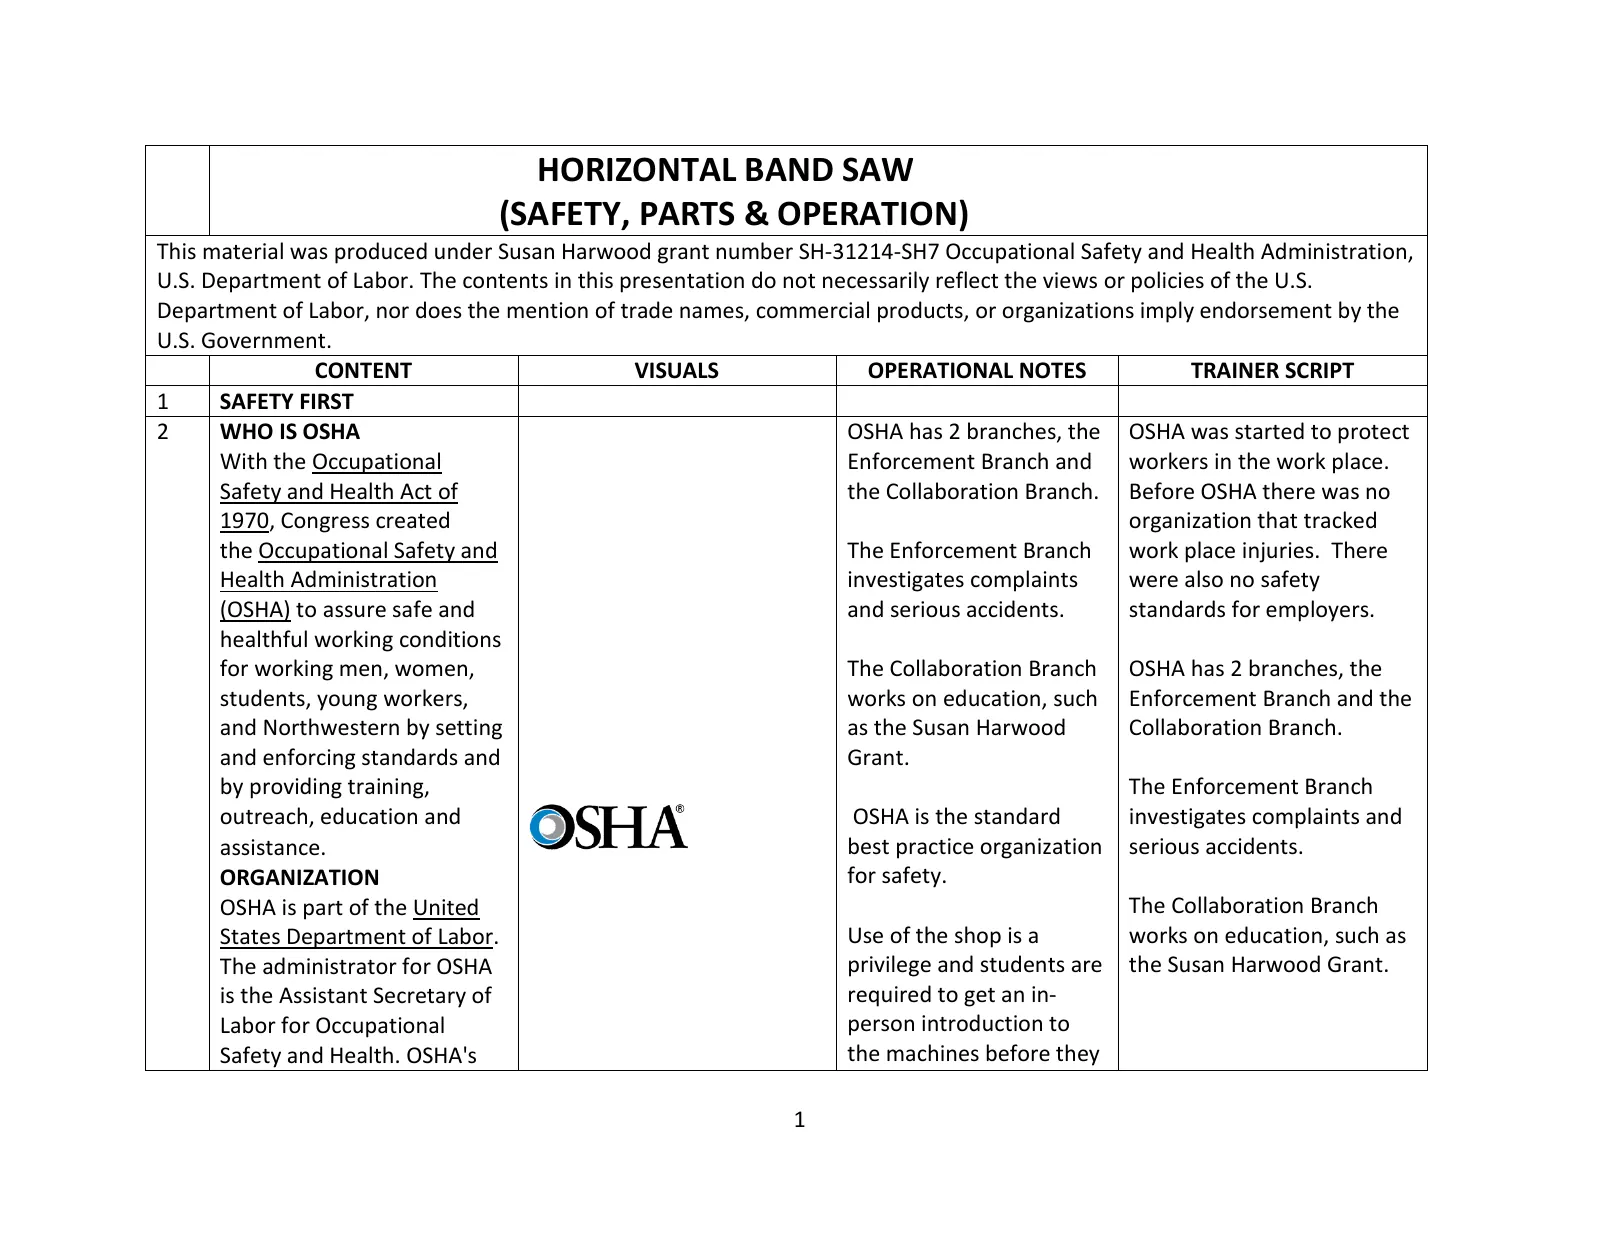
Machine Shop Safety: Horizontal Band Saw (Trainer Script)
Trainer script for the horizontal band saw deck.
Page text
· 17 pages · by Northwestern University
The words on each page as the author wrote them, read from the file by software so they can be searched. Layout, pictures and tables are not shown here: the pages above and the download are the original.
- Page 1
HORIZONTAL BAND SAW (SAFETY, PARTS & OPERATION)
- This material was produced under Susan Harwood grant number SH-31214-SH7 Occupational Safety and Health Administration, U.S. Department of Labor. The contents in this presentation do not necessarily reflect the views or policies of the U.S.
- Department of Labor, nor does the mention of trade names, commercial products, or organizations imply endorsement by the U.S. Government.
- CONTENT
- VISUALS
- OPERATIONAL NOTES
- TRAINER SCRIPT
- SAFETY FIRST
- WHO IS OSHA
- OSHA has 2 branches, the OSHA was started to protect
- With the Occupational
- Enforcement Branch and workers in the work place.
- the Collaboration Branch. Before OSHA there was no
- Safety and Health Act of
- 1970, Congress created
- organization that tracked the Occupational Safety and
- The Enforcement Branch
- work place injuries. There
- Health Administration
- investigates complaints
- were also no safety
- (OSHA) to assure safe and standards for employers.
- and serious accidents.
- healthful working conditions for working men, women,
- The Collaboration Branch OSHA has 2 branches, the works on education, such Enforcement Branch and the students, young workers, and Northwestern by setting as the Susan Harwood
- Collaboration Branch.
- and enforcing standards and
- Grant.
- by providing training,
- outreach, education and
- OSHA is the standard
- investigates complaints and best practice organization serious accidents.
- assistance.
- for safety.
- ORGANIZATION
- The Collaboration Branch
- OSHA is part of the United
- Use of the shop is a works on education, such as
- States Department of Labor.
- privilege and students are the Susan Harwood Grant.
- The administrator for OSHA required to get an inis the Assistant Secretary of person introduction to
- Labor for Occupational
- the machines before they
- Safety and Health. OSHA's
- Page 2
- administrator answers to the Secretary of Labor, who is a member of the cabinet of the President of the United States.
- KNOW YOUR RIGHTS
- Under federal law, you are entitled to a safe workplace. Your employer must provide a workplace free of known health and safety hazards. If you have concerns, you have the right to speak up about them without fear of retaliation. You also have the right to:
- Be trained in a language you understand
- Work on machines that are safe
- Be provided required safety gear, such as gloves, eye protection, dust masks, and hearing protection.
- Be protected from toxic chemicals
- Request an OSHA discussion, and speak to use them. An in-person introduction to the machine is a condition of using the shop. Appointments are readily available.
- Many young or foreign workers are unaware of their rights as workers.
- We are striving to be and academic and practice facility.
- Note: the original text in the column to the left came right from the poster that is posted in the shop.
- Every worker has the right to a safe workplace and OSHA was created to do that.
- Page 3
the shop Operations
- Director
- Report a Prototype Lab injury or illness.
- See copies of the workplace injury and illness log for the
- Prototype Lab.
- Review Prototype Lab records of work-related injuries and illnesses
- Review copies of Prototype Lab safety evaluations.
- INTRODUCTION TO THE HORIZONTAL BAND SAW
- (Machine Guarding)
- WHAT IS MACHINE
- GUARDING
- A means of shielding workers from moving or flying parts.
- Preventing workers from accidentally coming into contact with moving pieces of equipment.
- Simply put, machine guarding protects the worker from hazards. Machine guarding is not perfect.
- Machine guarding should not impede the lubrication or operation of the machine.
- Machine users still need to have an in-person introduction to the machine.
- Machine guards are only effective when they are being used.
- Page 4
MACHINE-RELATED INJURIES
- Possible machinery-related injuries include:
- Crushed fingers or hands
- Amputations
- Burns
- Blindness
- A good rule to remember is: Any machine part, function, or process which may cause injury must be safeguarded
- Explain not to take the machines for granted.
- Accidents can happen very quickly.
- 1. Machine users
- need to keep their fingers and hands away from the
- Point of
- Operation.
- 2. Wear safety
- glasses to protect
- their eyes.
- 3. Wear closed toe sturdy shoes to protect their feet.
- 4. Put long hair up in a ponytail or bun.
- 5. Not wear loose clothing or dangling jewelry.
- 6. Protect
- themselves from getting caught up in rotational hazards.
- Point of operation
- The machines may look imposing and may be loud, but you shouldn’t be afraid of them. When used correctly they are safe and can be used to create a lot of interesting things.
- Page 5
MACHINERY ACCIDENTS
- Examples of how machine accidents can occur:
- Hazardous conditions
- Missing or loose machine guards
- Human actions
- Reaching-in to “clear” equipment
- Unauthorized persons doing maintenance or using the machines
- Explain to trainers that some manufacturing facilities still have machines that are not properly guarded. Some types of accidents are related to poor on non-existent machine guarding can be getting fingers caught where the work is being done (Point of Operation). Dangling jewelry, loose clothing, or hair can get caught in the Point of Operation. Reaching in to grab a work piece while the saw is running can also result in an injury.
- Machine guarding is constantly evolving. The Prototyping Lab continues to review and incorporate the appropriate machine guarding for each machine.
- Page 6
BASIC MACHINERY PARTS AND HAZARDS
- Three fundamental machine areas:
- Point of operation
- “All machines consist of three fundamental areas: the point of operation, the power transmission device, and the operating controls. Despite all machines having the same basic components, their safeguarding needs widely differ due to varying physical characteristics and operator involvement” (OSHA 2007).
- Power transmission device.
- An easy way to keep these in mind is that the Point of Operation is where the work actually happens.
- The Power Transmission device is usually the motor that drives the machine.
- OSHA Machine Guarding eTool - https://www.osha.gov/SLTC/etools/machineguarding/intro.html
- Other moving parts – Operating controls such as mechanical or electric power control
- Other moving parts are anything else on the saw that moves. The operating controls are the buttons and switches that allow you to turn the saw on and off and have it do other functions.
- Page 7
POTENTIAL HAZARDS
- The primary hazards of horizontal band saws are:
- Contact with rotating parts and contact at the point of operation.
- An operator’s hand
- can be pulled into
- the sawing area
- from working too
- close, wearing
- gloves, loose
- clothing, loose hair, or jewelry, or wearing loose clothing.
- Trapping spaces are also created between the saw blade, the vise, and vise and work material.
- Projected parts or material such as unsecured workpieces, flying chips and coolant also present strike hazards to the operator.
- Any loose article has the potential to get pulled into the saw. Users must be sure not to wear loose fitting clothing, dangling jewelry, or long hair. Long hair needs to be in a ponytail or bun. Operators must not reach into the saw for any reason while the saw is running.
- In line nip points
- Point of operation
- Power transmission
- Crush point
- Nip Point
- Knowing the potential hazards of the machine will hopefully help you understand why the machine needs to have the guarding it has and why we need to wear Personal Protective Equipment (PPE) in the shop.
- Page 8
PREVENTING INJURIES AND AMPUTATIONS
- Do not operate the horizontal band saw unless you are trained and authorized to operate the machine
- Know where the Emergency Stop button is.
- Do not remove the any guards, or other devices
- Operators must place the work material in the vise and secure it. Taking caution not to place hands inside the vise or near the saw blade.
- Do not reach around the saw blade to remove chips while the machine is in motion or not locked or tagged out
- If performing service and maintenance activities follow lock out tag out procedures
- If an adjustment needs to be made or a blade needs to be changed:
- Press the emergency stop
- button.
- Turn the power disconnect switch off. This in conjunction with the door interlocks gives the user 3 levels of disconnection from the power source.
- To release the emergency stop button turn it clockwise and let it pop out.
- Do not remove
- any guards from the machine. If there is a problem with the guards let the shop staff know.
- Always make sure that the workpiece
- No one can operate any of the machinery unless they are trained by one of the student trainers or shop staff.
- Before using the machine always locate the emergency stop button or power switch or button.
- Guards are on the machine help keep you safe, do not remove any of the guards. If you experience problems with them let a trainer or shop staff know.
- With everything going on do not forget to tighten your work piece in the vise.
- You may be in a rush and want to grab your work piece while it is being cut. This can lead to injuries. Do not reach in to the Point of
- Page 9
- is placed securely
- in the vise.
- Always make sure that the machine is off before reaching in to grab the work piece or reaching around the blade.
- If a problem arises
- on the saw alert
- the shop staff.
- They are the only
- people that can
- assess
- maintenance
- issues.
- These hazards exist on the Horizontal Band Saw and they need to be guarded.
- HAZARD TYPES
- Point of Operation
- Operation while the saw is running.
- In the simplest terms the Point of Operation is where the machine is performing the work.
- Explain that the Point of
- Operation is where the work is being done on the machine. In this case it is where the band saw blade contacts the work material.
- Nip Points exist at the saw It is important to keep your blade and the saw blade hands and fingers away from
- Nip Points and Rotating
- Parts
- Page 10
- and vise interface and at the blade drive wheels inside the saw doors.
- Flying Chips and coolant
- Chips may fly up or fall to the floor.
- SAFETY PRECAUTIONS I
- Verify that all
- machine guards are in place.
- Refer to the picture and point out all of the guards. The doors need to be closed so that the machine interlocks engage.
- SAFETY PRECAUTIONS II
- Keep machine clear
- of tools. Tools must
- not be placed on the saw table.
- Stop saw before
- making any
- measurements, adjustments, or cleaning
- The machine needs to be kept free of tools since they could get caught in the blade or fall off of the machine during operation.
- The saw must always be stopped via the emergency stop button and power disconnect button when making
- Nip Points and rotating parts of the saw. This is where your hands or fingers can get hurt.
- Be sure to sweep up any chips that may fall on to the floor and mop up any coolant that may fall on the floor. Both of these present slip hazards which can cause injuries.
- Page 11
- Support long pieces of stock with a floor stand.
- SAFETY PRECAUTIONS III
- Chips are sharp. Do
- not attempt to remove them with your hand. Stop machine and remove them with a brush and dust pan.
- SAFETY PRECAUTIONS IV
- Avoid touching saw
- cut edges before
- they are de burred
- the edges are very
- sharp.
- PROTECT YOURSELF WITH PPE
- Always wear safety glasses
- Always wear closed toe shoes that protect the top of your foot
- Do not wear any rings or dangling jewelry
- Long hair needs to be tied up or put into a bun
- measurements, adjustments, or cleaning. Long work pieces need to be supported so that they will not tip during cutting. Saw chips may not seem harmful, but they can get stuck in your fingers since they are like small fish hooks.
- To avoid cuts do not grab the cut edge. Grab the work piece behind the cut to move it, then deburr the cut edge with a file or belt sander.
- Personal Protective Equipment may be a bit uncomfortable or bulky but needs to be worn to protect the user from injury.
- Page 12
INTRODUCTION TO THE HORIZONTAL BAND SAW OPERATION
- MAJOR COMPONENTS OF THE HORIZONTAL BAND SAW
- SAFE MACHINE OPERATIONS 1
- Make sure that the Left and Right doors are completely closed. Also verify that the Band Cover and Shield are in place.
- Make sure that all of the guards are in place.
- SAFE MACHINE OPERATIONS 2
- The vise is a potential Nip Point, do not put fingers in the vise. If working with smaller pieces use a Stock Pusher to move the stock. A stock pusher could be a piece of wood or a brush.
- Turn the Vise Clamp Hand wheel counter clockwise to open the vise so that the material can be loaded into it. The Vise Clamp Hand Wheel is located at the left end of the saw when facing it.
- Preparing the vise to load material to be cut.
- SAFE MACHINE OPERATIONS 3
- It is important that the work piece is securely
- Page 13
- clamped so that it cannot move during the cutting process and potentially cause injury.
- Set the Feed Control Selector to the Hold position and turn the Feed Knob all the way to the right to turn the feed off. To raise the head of the saw firmly grasp the Blade Tension Handle with both hands and raise the head high enough so that the saw blade clears the material that is going to be cut.
- Make sure that the users understand that it is important that they grab the Blade Tension Handle with both hands, have a firm stance, and use their leg muscles to avoid muscle strains during lifting.
- Users need to make sure that the area around the saw is free of trip and slip hazards.
- Loading the material into the vise.
- Page 14
- Pick up the material that is going to be cut being cautious not to grab the cut end since it will be sharp. Always use proper lifting techniques when lifting material.
- Users will need to use a floor stand if the material protrudes more than 2 feet from the vise.
- Set the material onto the floor stand and push it into the vise and under the saw blade to the desired length to be cut. To make large adjustments to the vise grab the Pawl and raise it high enough to clear the rack and slide it either forward or backward to make the desired adjustment. Reinsert the pawl into the rack.
- Turn the Vise Clamp Hand wheel clockwise until you feel pressure against it, then turn the handle another ¼ to ½ turn.
- SAFE MACHINE OPERATIONS 4
- Clamping the material into the vise.
- Safety Note: Caution, the pawl and rack interface are a potential pinch point. Do not put fingers in this area.
- Page 15
SAFE MACHINE OPERATIONS 5
- Verify that the Emergency Stop button is released (turn it ¼ to the right) Press the green Start button and let the saw run until the coolant starts flowing. If it doesn’t, see a shop trainer or shop professional.
- Make sure that the Feed Control Knob is turned all the way to the right to the off position.
- Turn the Feed Selector from Hold to Feed.
- Turn the Feed Control Knob to the left so that the position is about half way between the Stop position and the stop on the left.
- The saw head will now begin to descend to cut the material.
- The saw will automatically stop once the cut is completed.
- Remove the cut piece from the saw and wipe
- Preparing to cut the material.
- Safety Note: Make sure that there is nothing near the saw blade except for the material being cut.
- SAFE MACHINE OPERATIONS 6
- Making the cut.
- Safety Note: Do not attempt to remove the cut piece from the saw until the saw blade has stopped. This is an inline nip point.
- The cut piece will have a very sharp edge use caution when removing it from the
- Page 16
- saw to avoid cuts to the fingers and hand.
- any chips and coolant off the work piece with a rag. Turn the Feed Control Knob to the Off position and turn the Feed Selector to the Hold position.
- Approach the Vise Clamp Hand Wheel. Firmly grasp the Hand Wheel and turn it counter clockwise to loosen the vise. Once the vise is loose turn the Hand Wheel counter clockwise 1 to 2 turns.
- SAFE MACHINE OPERATIONS 7
- Unclamping the remaining
- material.
- Note: The remaining material will have a very sharp edge where the cut as made. Take caution not to touch that area.
- SAFE MACHINE OPERATIONS 8
- Loosen the vise by turning the Vise Clamp Hand Wheel counter clockwise a few turns.
- Remove the remaining material from the vise by pulling it out of the vise from the back side which has the most access. Return the material to the storage area.
- Removing the material from the saw.
- Safety Note: Do not run fingers or hand over cutting edge of tool or risk getting cut.
- Page 17
SAFE MACHINE OPERATIONS 9
- Press the Emergency Stop Button. Use a brush to clean the chips and coolant off the vise ways and the chip pan. Discard the chips.
- Sweep up any chips that fell may have fallen onto the floor and mop up any coolant that may have dripped onto the floor. Both chips and coolant on the floor present slip hazards.
- Clean the machine.
- Safety Note: Do not touch the saw chips since they are sharp and can cause cuts or get stuck in the skin.
More on Machine Guarding
pptx
54 slidesMachine Guarding (OSHA 10-Hour General Industry Outreach)
OSHA's own 10-hour General Industry Outreach deck on machine guarding (v. 03-01-17), editable PowerPoint with trainer notes.
U.S. Department of Labor, OSHA (with the OTIEC Outreach Workgroup)Public domain
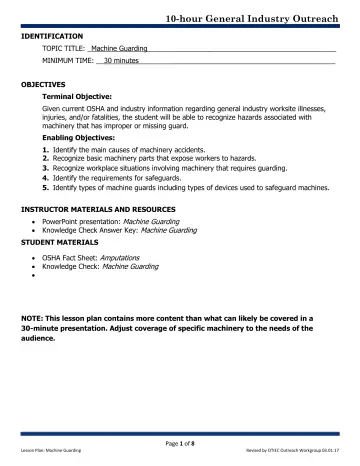
pdf
8 slidesMachine Guarding: Lesson Plan (OSHA 10-Hour General Industry Outreach)
Instructor lesson plan (objectives, timing, teaching steps) for the OSHA General Industry machine guarding outreach deck.
U.S. Department of Labor, OSHA (with the OTIEC Outreach Workgroup)Public domain
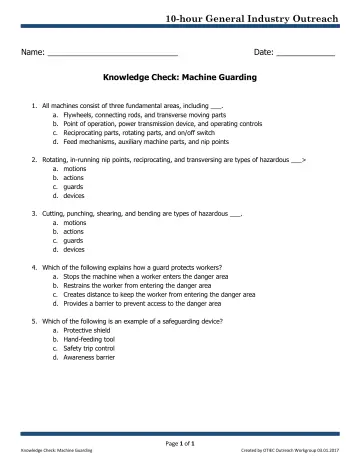
pdf
1 slidesMachine Guarding: Knowledge Check (OSHA 10-Hour General Industry Outreach)
Student knowledge-check quiz for the OSHA General Industry machine guarding outreach deck.
U.S. Department of Labor, OSHA (with the OTIEC Outreach Workgroup)Public domain