1 / 61Use ← → to flip
Excavation and Trenching Safety Training
Excavation and trenching safety training from Wayne State University.
Slide text
· 61 slides · by Wayne State University
The words on each slide as the author wrote them, read from the file by software so they can be searched. Layout, pictures and tables are not shown here: the slides above and the download are the original.
- Slide 1
Acknowledgement
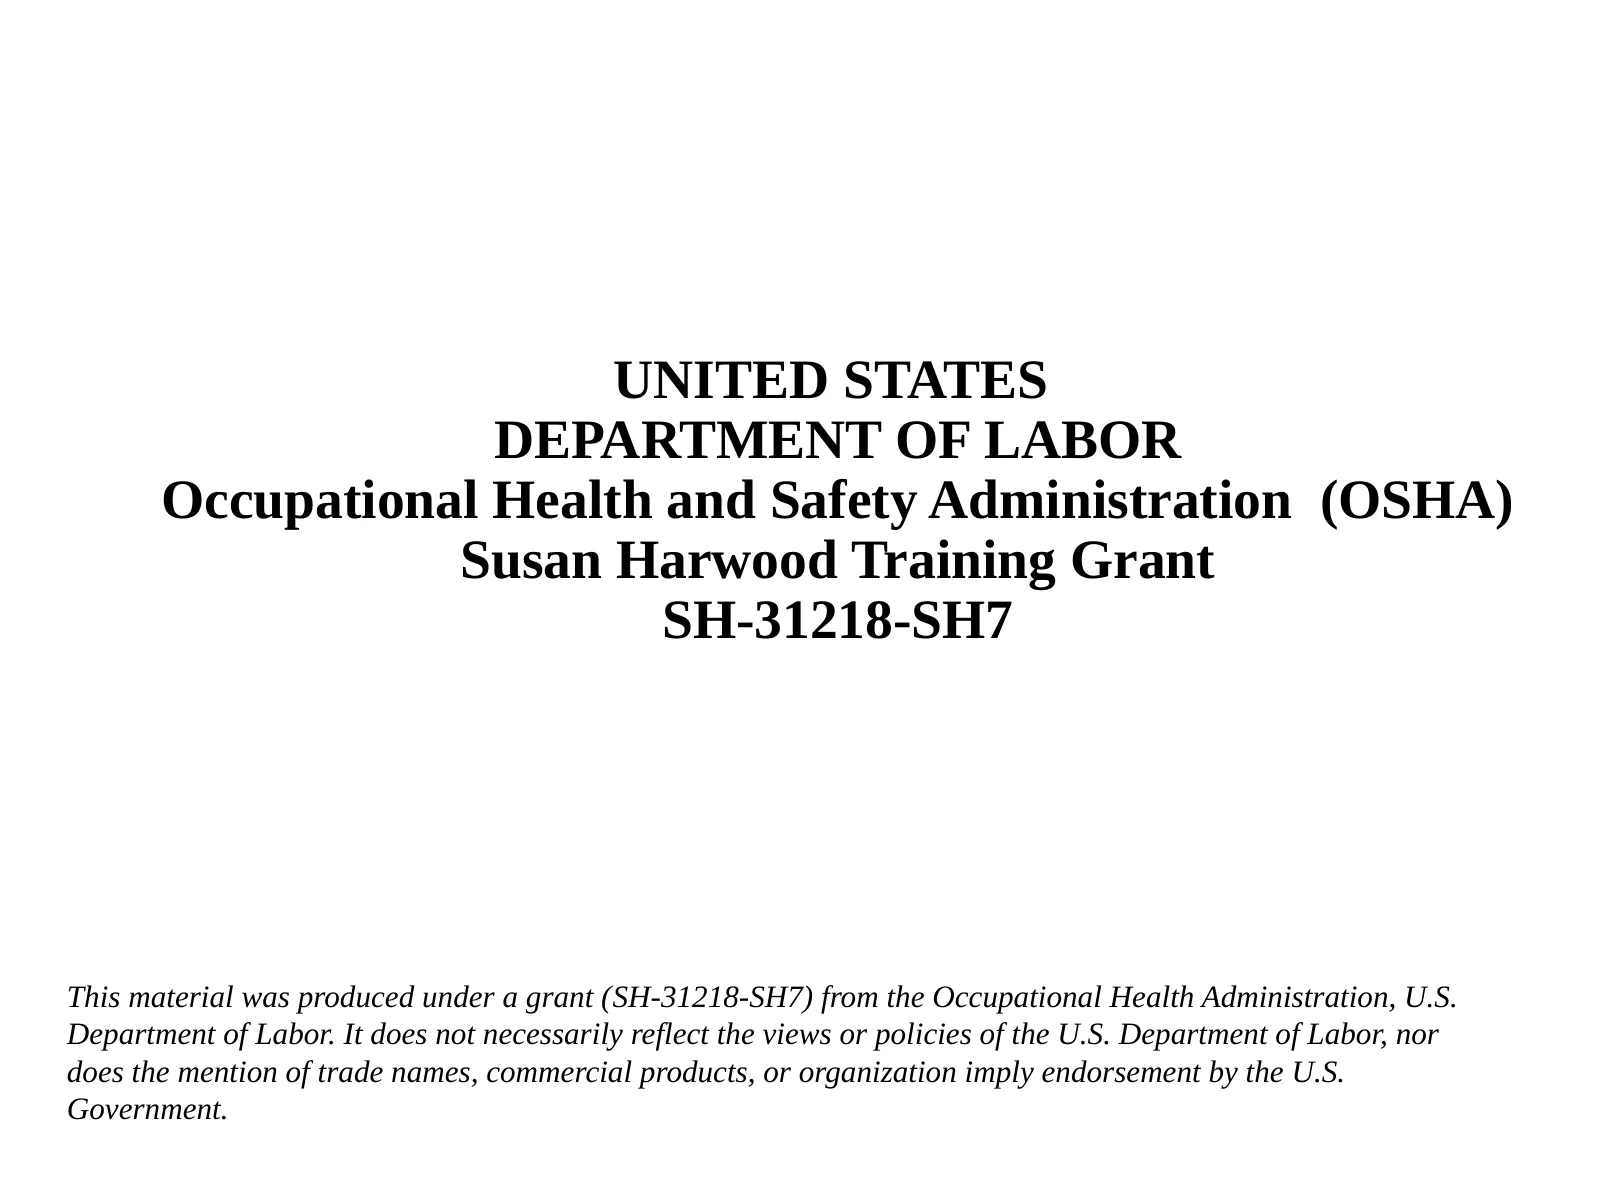
- UNITED STATES
- DEPARTMENT OF LABOR
- Occupational Health and Safety Administration (OSHA)
- Susan Harwood Training Grant
- SH-31218-SH7
- This material was produced under a grant (SH-31218-SH7) from the Occupational Health Administration, U.S. Department of Labor. It does not necessarily reflect the views or policies of the U.S. Department of Labor, nor does the mention of trade names, commercial products, or organization imply endorsement by the U.S. Government.
- Slide 2
The Training Steps
- Slide 3
PLEASE START THE
- PRETEST
- Maximum: 15 minutes.
- Slide 4
Training Content
- Introduction
- Workers’ Rights under the OSH Act
- Excavations and trenches
- How cave-ins occur and cause fatality
- Excavation and trenching fatality and injury
- OSHA Standard on excavations (29 CFR 1926 Subpart P)
- Slide 5
Training Contents
- Soil Classification
- Categories (Solid Rock, Type A, Type B, Type C) Soil testing
- Cave-in Hazard Controls
- Engineering Controls
- Protective systems (Sloping, benching, shoring)
- Access and egress (Ramps and ladders)
- Protective system selection - Flowchart
- Protective system installation, maintenance and removal
- Slide 6
Training Content –cont.
- Workplace Controls
- Training and Site inspection
- Competent Person (roles and responsibilities)
- Professional Engineer
- Other Excavation Hazards
- Struck-by (Equipment, material and falling object)
- Fall into (Signs/barricades)
- Overhead/underground utilities
- Stability and adjacent structures
- Hazardous atmosphere
- Rescue Operations
- Slide 7
Worker Rights under OSH Act
- Right to Know and Whistleblower
- Provisions
- Federal Hazard Communication Standard, Title 29, Part 1910.1200 mandates that “Workers have the right to know and understand the hazardous chemicals they use and how to work with them safely.”
- Employers may not retaliate by taking unfavorable personnel action against them for whistleblowing.
- For more information refer to the hyperlink below
- Whistleblowers’ Rights
- Slide 8
INTRODUCTION
- Slide 9
Excavations and Trenches
- Excavation: a man-made hole (cut) that is dug in the earth surface
- Varying size: wide, narrow, deep, or shallow.
- Slide 10
Examples of Excavations
- Slide 11
Excavations and trenches – cont.
- Trench is a special excavation
- Depth is larger than width
- Usually narrow, less than 15 feet (ft) at the bottom
- Installation of formwork can create a trench
- Slide 12
Examples of trenches
- Slide 13
Cave-in Hazard in Excavations and Trenches
- Excavation and trenching is dangerous work
- Many workers are crushed or suffocated in unprotected trenches - collapsing soils and cave-ins
- Cave-ins cause 3 out of every 4 excavation fatality
- Fatality rates are twice the fatality rate of other construction work.
- Slide 14
A cubic foot of soil weighs 100 pounds or more
- Forces of Trench Collapse
- A cubic yard of soil may weigh as much as a small car (2700 pounds).
- A cave-in in an unprotected 8 ft deep trench can easily have 3-6 cubic yards burying him
- Soil does not need to bury to kill a worker!
- Slide 15
Reasons for Fatality
- Lack of appropriate protection
- Protective systems not employed / improperly installed
- Environmental conditions – rain, ice, vibrations
- Competent person was not assigned
- Soil type not determined/considered
- Non-compliance with the OSHA regulations
- Slide 16
OSHA Standard on Excavations (29 CFR 1926 Subpart P)
- 1926 Subpart P - Excavations
- 1926.650 - Scope, application, and definitions
- 1926.651 - Specific Excavation Requirements.
- 1926.652 - Requirements for protective systems.
- 1926 Subpart P App A - Soil Classification
- 1926 Subpart P App B - Sloping and Benching
- 1926 Subpart P App C - Timber Shoring for Trenches
- 1926 Subpart P App D - Aluminum Hydraulic Shoring
- for Trenches
- 1926 Subpart P App E - Alternatives to Timber Shoring
- 1926 Subpart P App F - Selection of Protective Systems
- Slide 17
OSHA’s Soil Classifi cation
- Soils have different levels of stability
- OSHA classifies soils into 4 types
- Stable rock – the most stable type
- Type A – very stable. (e.g. clay,
- cemented soils)
- Type B – less stable than type A
- (crushed rock, sand – silt mixtures)
- Type C – less stable than type B.
- (unstable gravel and sand )
- OSHA requires protective systems for
- excavations deeper than 5 ft (except in stable rock)
- Slide 18
Factors Aff ecting Soil Stability
- Granularity – makes soil less stable
- (sloughing)
- Cohesiveness - soil holding together
- (example- clay) – more stable
- Water-weakens soil (extreme case- slurry)
- External forces – usually make soil less
- stable (surcharge, vibrations)
- Unconfined compressive strength –
- Load per unit area to collapse soil
- (tons per square feet – tsf) is a measure of strength and stability
- Slide 19
Gravel, Sand, Silt and Clay Soils
- Slide 20
Visual Soil Examination
- Soil testing can be visual or manual.
- Visual – look at the soil/site for signs of instability
- Cracks or fissures
- Water seeping from
- the sides of excavation
- Previously disturbed soil
- Vibrations from construction activity
- or highway traffic nearby
- Layers of different soil types and angles of layers (> 4:1) in
- the face of excavation
- Slide 21
Soil Testing - Manual Tests
- Manual tests involve testing a sample of soil from the excavation to
- determine granularity, cohesiveness (plasticity) and unconfined compressive strength
- The unconfined strength test can be
- done on or off site; should be completed quickly to preserve natural moisture
- Plasticity test. Shape a sample of moist soil into a ball and try to roll it into threads. Cohesive soil will roll into 1/8 inch threads without crumbling.
- Slide 22
Soil testing - Manual tests – cont.
- Pocket penetrometers: used to estimate the unconfined compressive strength of saturated cohesive soils. When pushed into the sample, the indicator sleeve reads an estimate in tons per square foot
- Device is pressed into soil to calibration mark
- Spring loaded piston displaces the scale ring
- Produces a compressive strength reading rated in tsf
- Slide 23
Soil Testing - Manual Tests – cont.
- Dry strength test: Hold a dry soil sample in your hand.
- If the soil is dry and crumbles on its own or with moderate pressure into individual grains, it is granular.
- If the soil breaks into clumps
- that are hard to break it may be clay (often combined with gravel, sand, or silt)
- Thumb penetration test: Roughly estimates unconfined compressive strength. Press your thumb into the soil. If the sample resists hard pressure, it is likely Type A
- If sample is easy to penetrate, soil may be Type C
- Slide 24
Soil testing - Manual tests – cont.
- Shearvane/Torvane: . is a simple soil testing instrument for the rapid determination of shear strength of cohesive soils, either in the field or in the laboratory.
- The tester is simple to use and sample trimming is eliminated. All that is required is a reasonably flat surface 25 mm in diameter
- Select fresh clod or block of undisturbed soil from spoil pile
- Cut a smooth surface on the clod
- Insert vanes of device into the soil
- Retract vanes to show foot imprint
- Set indicator at zero
- Hold device firmly against soil and twist in clockwise manner until soil fails in shear
- Slide 25
Soil Types Based on Strength
- Solid stable rock- High strength
- Type A soil – Unconfined compressive strength (Q u ) of 1.5 tsf
- Type B soil - Unconfined compressive strength (Q u ) between 0.5 and 1.5 tsf
- Type C soil - Unconfined compressive strength (Q u ) less than 0.5 tsf
- Reclassify (downgrade) soil type if you observe
- Cracks and/or fissures
- Water seeping from sides
- Previously disturbed soil
- Layers of different soils inclined towards the bottom
- Vibration from equipment or traffic nearby
- Reclassification must be determined by a trained Competent Person
- Slide 26
Soil Classifi cation Chart for Excavation
- Source: OSHA Salt Lake Technical Center
- Slide 27
Water Eff ects on Soil
- Water makes soil unstable by reducing the cohesive forces
- between the soil particles.
- Excavations should not be entered when water has built up
- unless there is protection for the unstable soil and water-removal equipment is present
- The competent person must inspect
- excavation and monitor the methods used to control water accumulation.
- Storm water must be carefully diverted
- away from the excavation site.
- All laborers must be withdrawn from trench during rain
- storms.
- Slide 28
PLEASE START THE POSTTEST - SESSION 1
- Maximum: 10 minutes.
- Slide 29
CAVE-IN HAZARD CONTROLS
- Slide 30
Cave-In Hazard Controls
- Workers must be protected from cave-in hazard by
- Engineering controls
- Sloping and benching
- Shoring
- Shielding
- Workplace controls
- Decision for most appropriate protective system will depend on soil type, water content, excavation depth and width, and nature of work
- The competent person is responsible for determining the appropriate protective system.
- for
- Slide 31
Engineering Controls- Sloping and Benching
- Sloping and benching provide protection by removing material from the face of excavation
- The flatter the angle, greater the protection
- Benches are cuts in the slope
- that give it a stair-step form
- Two types of benches:
- simple and multiple
- (refer to the next slide)
- Use Appendix A and B of the Standard to determine slope
- angle ( Link to 1926 Subpart P - Subpart P—Excavations )
- Slide 32
Sloping and Benching
- Type A
- Soil
- Type B Soil
- Type C Soil: slope with 1.5:1 …. Generally, benching in type C soil
- is not permitted
- Slide 33
Sloping (angle) Charts for Diff erent Soil Types
- Slide 34
Engineering Controls - Shoring and Shielding
- Shores are vertical supports that prevent
- an excavation from collapsing
- Shields are box like structures that provide
- employees a safe work area, protecting them from collapsing soil.
- Shields (trench boxes) do NOT prevent cave-ins; they “shield” workers if a face collapses
- Both shoring and shielding can be used
- with or without sloped or benched faces.
- All shoring should be installed from top
- down and removed from bottom up
- Manufacturers provide shoring and shielding systems with
- tabulated data so it can be custom-built (PE approval may be needed)
- Slide 35
Excavation Access and Egress (Ramps and Ladders)
- Excavation with a depth
- of 4 ft or more must have means for entering (access) and exiting (egress)
- Stairways, ladders, or ramps
- Within 25 ft of employees
- Ladders must extend 3 ft above edge of excavation
- Ramps for entry and egress must have nonslip surfaces and be
- designed by a Competent Person
- Slide 36
Protective System Selection (Figure 1: Preliminary Decisions Flowchart)
- Slide 37
Protective System Selection (Figure 2: Sloping Options Flowchart)
- Slide 38
Protective System Selection
- (Figure 3: Shoring and Shielding Options
- Flowchart)
- Slide 39
Shoring and Shielding Options - Examples
- Slide 40
Shoring and Shielding Options -
- Examples
- Slide 41
Workplace Controls
- A Competent Person must be designated by the employer
- should be well trained and well acquainted with the mechanics of soil failures; and
- capable of identifying the signs of failure.
- Workers must have a basic safety training on soil excavation accident prevention
- including use of PPE, such as hardhats, gloves, etc. all the time.
- Slide 42
Competent Person Qualifi cations and Responsibilities
- The Competent Person must be knowledgeable of
- conditions leading to cave-ins soil testing/classification, and
- Options for different protective systems
- Must inspect the site and protective system daily
- for signs of instability
- damage (to protective systems)
- Inspect after heavy rain, high risk activities (e.g. blasting)
- Determine underground utilities likely to be encountered before the excavation
- Detect and test for hazardous atmosphere(s) before anyone enters the excavation if oxygen deficiency is foreseen
- Have the authority to immediately correct any hazard(s) and order employees to leave the excavation until corrective action is taken
- If there are no existing hazard(s), the competent person can leave the excavation site for a short time, but must be present when a protective system is moved.
- Slide 43
Professional Engineer Responsibilities
- According to OSHA Subpart P,
- Sloping and benching should be designed by a Registered Professional Engineer (PE) for excavations
- Deeper than 20 ft for any soil type
- Exceeding 5 ft in depth in Type C soils
- Shoring and shielding protection systems based on manufacturer’s data must be built by the contractor after approval by a PE.
- When an alternate system (e.g. sheet piling) is to be used, for which the OSHA Subpart P does not provide guidance, a PE must design that system and supervise construction.
- Slide 44
OTHER EXCAVATION
- HAZARDS
- Slide 45
Other Excavation and Trenching Hazards
- Besides cave-ins, hazards include
- Workers struck-by equipment/loads
- People falling from above into trenches
- Falling loads or equipment into trenches
- Contact with overhead and underground power lines
- Hazardous atmospheres - toxic fumes, fire, explosion, electrocution and water/pressure
- Stability of adjacent structures
- Slide 46
Struck-by Hazards
- Struck-by hazards are caused by falling loads or materials
- (from moving equipment), or by moving traffic in road highway workzones
- Some of the common reasons for struck-by accidents
- Entering the excavator’s swing area (moving equipment/parts)
- Unsafe rigging methods (e.g. when dragging a trench shield)
- Not taking necessary precautions in workzones (e.g high visibility vests)
- Soil spoil and other equipment must be placed at least 2 ft from excavation
- edge
- No one allowed under a suspended load, or the boom, arm, or bucket
- Slide 47
Falling Into Hazards
- Proper protection (such as signs/barricades) must be installed around the excavation to prevent direct falls into excavation floor.
- Besides people, machinery (equipment) can fall into the trench.
- Slide 48
Underground/Overhead Utilities
- OSHA requires underground utility lines to be located
- before starting work
- they pose fire, explosion or electrocution hazards
- Besides injury hazard, there is also potential for disruption of utility services
- No work must be conducted within 10 ft of power lines.
- If work must be within 10 ft of power lines, the utility company must be informed so as to coordinate work schedules (to de-energize, or temporarily relocate/raise the lines)
- Slide 49
Hazardous Atmosphere and Respiratory Protection/Ventilation
- Hazardous atmospheres may occur in excavations near landfills,
- leaking gas lines or storage tanks; also in sewers, and in other confined spaces.
- A competent person must test for oxygen deficiency and other hazards before anyone enters the excavation.
- Oxygen levels should not be less than 19.5 %
- Proper respirators and/or ventilation system must be
- used when hazardous atmospheres are present in a trench/ excavation.
- Slide 50
Adjacent Structures
- Excavation work endangers stability of adjacent structures
- Collapse of adjacent structures puts occupants and workers at risk
- Structures, roadways, and sidewalks adjacent to excavations must be adequately supported when conducting excavation
- Use an appropriate support system (such as shoring or bracing) if stability of nearby buildings, sidewalks, and roads is affected.
- Do not excavate below the base of footing / foundation, unless
- A support system that keeps the structure stable and protects workers is in place
- A registered Professional Engineer (P.E.) determines the structure will not be affected by the excavation.
- Slide 51
Emergency Rescue Operations
- 65 % of all would be rescuers become victims, because proper safety
- procedures are not followed.
- In the event of any emergency situation requiring rescue from an
- excavation
- Workers will not enter an unprotected excavation to perform rescue.
- Local emergency services will be notified
- If hazardous atmospheric conditions exist or may reasonably be expected
- to develop in an excavation, the employer must ensure the ready availability of emergency rescue equipment, such as breathing apparatus, a safety harness and line, or a basket stretcher
- Rescue operations that can be performed safely from outside the
- excavation, such as hoisting a harnessed victim, will be carried out.
- Other personnel in the excavation will exit immediately and may provide
- assistance only when their own safety is ensured.
- Slide 52
Emergency Rescue Operations – cont.
- Get general description of the incident, the number and location of victims.
- Determine if it is a rescue or a recovery
- Remove non-essential personnel from the area, restrict entry, and establish visible access control points.
- Locate incident scene hazards including disrupted or exposed utilities, flowing water; locate all utilities.
- No personnel shall be allowed to enter an unprotected trench to render patient care or help.
- All trenches shall be safe and protected using approved methods prior to entry.
- Shut down all heavy equipment operations.
- Slide 53
Emergency Rescue Operations – cont.
- Personnel shall approach the trench from the end.
- Place ladders at each end of the trench for emergency egress.
- Support any unbroken utilities.
- Provide a helmet, goggles and oxygen (if needed) for the victim.
- If the victim is conscious and trapped pass them a shovel so that they can attempt to self rescue.
- Slide 54
Safe Practices Checklist and Summary
- Slide 55
Additional Resources
- Additional resources for trainees:
- OSHA Excavation Standard <https://www.osha.gov/pls/oshaweb/owadisp.show_document? p_table=STANDARDS&p_id=10930>
- OSHA Safety and Health Topics Page on Trenching and Excavation <https://www.osha.gov/SLTC/trenchingexcavation/index.html>
- ELCOSH Excavation Safety <http://www.elcosh.org/record/document/4236/d001520.pdf>
- OSHA Trenching and Excavation Safety Publication
- <https://www.osha.gov/Publications/osha2226.pdf>
- OSHA Fact Sheet <https://www.osha.gov/OshDoc/data_Hurricane_Facts/trench_excavation_f s.pdf>
- Slide 56
QUESTIONS?
- Slide 57
PLEASE START THE POSTTEST – SESSION 2
- Maximum: 15 minutes
- Slide 58
PLEASE FILL OUT THE OPINION SURVEY
- Slide 59
INTERACTIVE Q/A SESSION
- PLEASE GRADE YOUR POSTTEST
- Slide 60
PLEASE HAND IN THE FOLLOWING
- TRAINING PACKAGE TO THE TRAINER
- Sign-up
- Pretest
- Posttest 1
- Posttest 2
- Opinion survey
- Slide 61
THANK YOU!
More on Excavations
pptx
42 slidesExcavations (OSHA 10-Hour Construction Outreach)
OSHA's own 10-hour Construction Outreach deck on trenching and excavation hazards and protective systems (2015 edition).
U.S. Department of Labor, OSHA (with the OTIEC Outreach Workgroup)ArchivedPublic domain
pdf
7 slidesExcavations: Lesson Plan (OSHA 10-Hour Construction Outreach)
Instructor lesson plan with objectives, timing and teaching procedures for the OSHA excavations outreach deck.
U.S. Department of Labor, OSHA (with the OTIEC Outreach Workgroup)ArchivedPublic domain
pdf
1 slidesExcavations: Knowledge Check (OSHA 10-Hour Construction Outreach)
Student knowledge-check quiz that accompanies the OSHA excavations outreach deck.
U.S. Department of Labor, OSHA (with the OTIEC Outreach Workgroup)ArchivedPublic domain