1 / 14Use ← → to flip
Responding to Workplace Violence: Train-the-Trainer Module 6: Simulations and Debriefings
Trainer manual chapter for the Responding to Workplace Violence course.
Page text
· 14 pages · by Summa Health
The words on each page as the author wrote them, read from the file by software so they can be searched. Layout, pictures and tables are not shown here: the pages above and the download are the original.
- Page 1
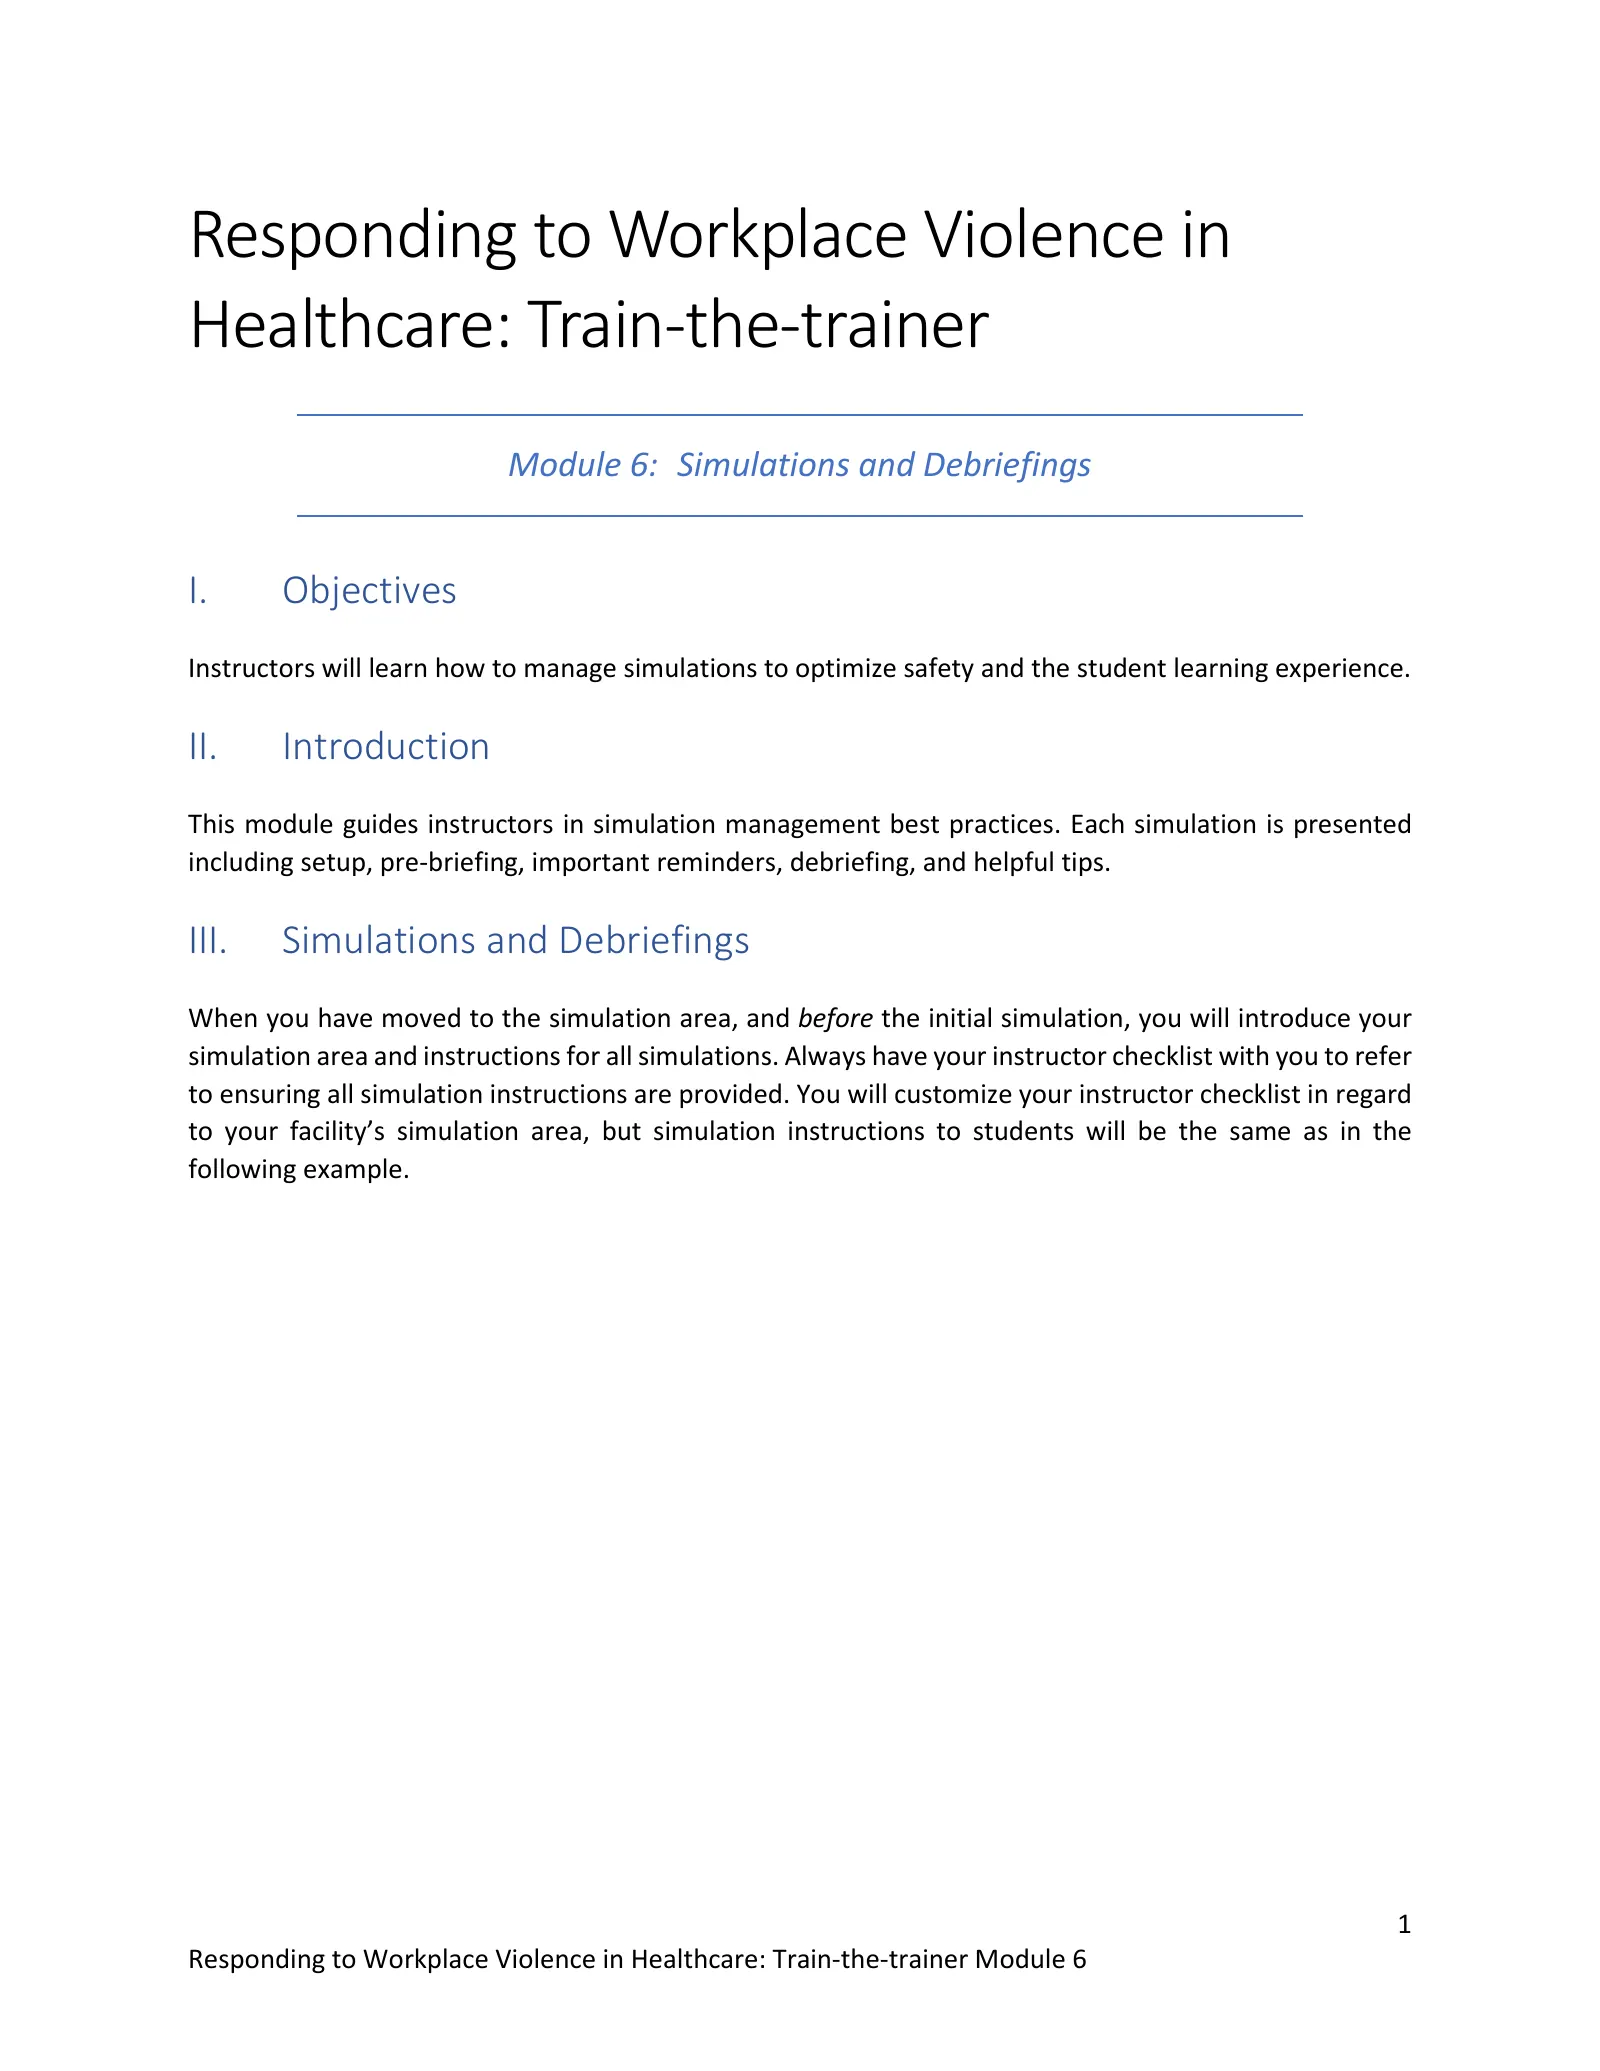
Responding to Workplace Violence in Healthcare: Train-the-trainer
- Module 6: Simulations and Debriefings
- I.
- Objectives
- Instructors will learn how to manage simulations to optimize safety and the student learning experience.
- II.
- Introduction
- This module guides instructors in simulation management best practices. Each simulation is presented including setup, pre-briefing, important reminders, debriefing, and helpful tips.
- III.
- Simulations and Debriefings
- When you have moved to the simulation area, and before the initial simulation, you will introduce your simulation area and instructions for all simulations. Always have your instructor checklist with you to refer to ensuring all simulation instructions are provided. You will customize your instructor checklist in regard to your facility’s simulation area, but simulation instructions to students will be the same as in the following example.
- Page 2
- A.
- Introducing Students to Simulation: Pre-briefing
- Introduce the simulation space by pointing out the different areas and how they are designed to mimic student’s actual workspaces. Encourage students to use their imagination if they work in an office but your simulation area is set up as a patient floor.
- Example of what you will include in your pre-briefing:
- The area is set up to mimic your work environment. [Point out the patient rooms, nurses’ station, or other areas you have set up for the course. Ask students to use their imagination if they work in an office: consider the set up as offices and reception desk].
- The walls are 4’ tall which allows for the feel of a separate room while permitting those in the room to view what is happening in other areas. Remember that in actual patient rooms or offices, you will not likely be able to see what is happening outside the room but may be able to hear commotion.
- The doors do function but do not lock as patient rooms do not lock.
- In the simulated patient rooms, you have phones that function only within this simulation area. If you need to make a call, dial zero “0” and the Control Room Operator will answer. [Point out where the control room and operator are located]. The reception area or nurse’s desk also has a working phone. Do not hesitate to use the phones – actually dial zero and talk to the operator if you need to. [Or, whatever your facility outside line access requires or policy dictates].
- Ensure no one has a cell phone on them that they might be tempted to use during the simulation. Please place your cell phone on silence and leave at your classroom desk area. We do not want any inadvertent 9-1-1 calls during the simulations.
- Page 3
- Ask if anyone has any weapon on their person. Items such as pocketknives, mace or pepper spray, or other weapons must be removed and placed in the classroom during the simulations for everyone’s safety.
- During the simulations, we work to maximize reality of this training. You will hear yelling, pounding, and threatening behavior.
- Safety Rule #1: No touching the instructors (actors) or each other. No tackling or disarming the aggressor or otherwise physically interfering with their role. The instructors will interact or touch, but students do not touch anyone.
- You will see weapons including a plastic/fake, yet realistic looking, handgun. [Show the fake gun(s) used in the simulations].
- Please pass the plastic gun around to anyone who would like to see it. It is intended to look real, but it is not functional.
- Delineate the “field of play” as the rooms and hallway/reception area. Point out where “out of play” areas are and any students who enter those areas are as if they have left the area. Students are still able to see what is happening but have moved to an area of safety from the action.
- Let students know that everyone comes to class with a different history and experiences in life that could have been traumatic. If anyone at any time experiences anxiety and feels they need to get out of the situation, do not hesitate, do not be embarrassed – you can say “Stop!” or “Timeout!” to stop the action, or simply leave the area. No problem at all. The simulation continues after the student has left the action. [Offer the control room or other location where the student may feel comfortable observing.]
- Break into three groups: A, B and C. You will keep in your group for each simulation.
- The role assigned to each group rotates from being patients, clinicians, and visitors. [Hand out patient gowns, clinician lab coats, walkers, wheelchairs, or other props to make the simulation more realistic. Assign individuals to rooms or areas. Individuals who have indicated significant concern over the activity can remain in an “out of bounds” area or control room to observe.]
- To further explore the pre-briefing, the following video provides an example of the initial simulation preparation. Click the link below to access the video.
- Click here to access Video 17- Pre-Briefing – Class Example
- Page 4
- Following your simulation area introduction, student instructions, division of students, and handing out costumes and props, you will begin the Initial Simulation.
- NOTE: The aggressor (actor) must select a name for this activity of a person that is not present in class. Check the course roster and confirm by asking the class if there is anyone present with that name prior to beginning the activity.
- B.
- The Initial Simulation and Debriefing
- The purpose of the Initial Simulation is to provide a baseline of student response which can be compared to their response in the last simulation. Since there is no instruction prior to the Initial Simulation, student responses will vary widely based on individual levels of experience, previous training, and comfort level with the activity.
- This scenario uses the same storyline and actor roles as previously seen in The Dangerous Manager. Two instructors are actors in this scenario, the Violent Visitor and Manager, a third instructor is the Operator. In this simulation, the Manager provides the observation of students for signs of trauma.
- Page 5
- To further explore the Initial Simulation, the following video is an example of an Initial Simulation. Click the link below to access the video.
- Click here to access Video 18- Initial Simulation – Class Example
- In that example, the simulation played out and no student made a call for help. With no call for help, help never arrived. After a few minutes, the simulation was called, and students returned to the classroom to begin the lecture portion.
- How the initial simulation unfolds is now the baseline for these students in this class from which a comparison will be made after the last simulation. Baselines will vary with each class.
- At the conclusion of this simulation, collect the gowns and lab coats and return to the classroom for debriefing and lecture. Students will move back to the classroom for this debrief in order to transition to classroom.
- Debriefing the Initial Simulation:
- This initial simulation debrief is very . . . brief.
- Since there has been no class instruction, this debrief is a few questions about how students felt in general and an affirmation of those feelings. This instructor led discussion follows something like this:
- It is natural to think you will make the right decisions and act accordingly in a crisis. Does everyone act to save themselves in a crisis? Do we see that in real life? No, we do not.
- It is easy to watch the news and say to yourself, “Why did they do that? Or why didn’t they do this?” Or “I would have done < fill in the blank >”.
- Page 6
- But what we know is that in crisis situations our critical thinking shuts down and we do not make those good judgement calls and act on them.
- Even though you knew the simulation was fake, did your critical thinking shut down? Become slower? Did you do what you thought you would do?
- Everything you think you would do will be affected by your critical thinking shutting down. You have to plan ahead, think about, and practice what you will do in a crisis situation.
- We are going to build on your actions in that initial simulation and add ways to react. We will improve your options and mindset to better deal with high-stress events.
- Our goal is to keep your critical thinking from shutting down under stress.
- From here, the instructor begins the course slides as described in a previous module.
- C.
- The Huddle: 2-minute Timer and Debriefing
- The Huddle: 2-minute Timer
- The Huddle activity, and its importance, was described in detail previously. It is included here because it is an important simulation which includes an actor staying in an aggressor role, a disgruntled former coworker who takes hostages, followed by a debriefing. Aggressor actions in The Huddle provide the important stressor needed raise the student heart rates, release adrenaline, and increase stress levels.
- Page 7
- Follow these tips to help you create this stressful situation as you act the aggressor role involving multiple hostages:
- Check the attendance list to ensure the manager’s name you select is not in the room.
- Stay amped-up during the entire two (2) minutes.
- Yell with anger and vengeance. You blame this manager for being fired.
- Yelling at the group as well as single out individuals for threats of violence or death.
- Vary your tone of voice, cadence, and volume. Complain about what the manager did – firing you. Use silence to increase fear as silence is uncomfortable.
- Drag the gun along a table (while not talking) to increase fear and anxiety.
- Pace. Turn away from the hostages and quickly back to startle.
- Get close to the students and point the gun in their face. Be very aware of students showing signs of trauma and avoid targeting these students. [Make eye contact with the instructor who is observing for signs of trauma. They will communicate to you any students of concern].
- The goal is to show the students how long 2-minutes really is.
- You may review The Huddle example (optional):
- Click here to access Video 05- Huddle – Class Example
- The Huddle: Debriefing
- Debriefing after the huddle activity includes a short discussion on how long the timer went. Students frequently think it was longer than two minutes. Additionally, the aggressor could have shot every one of the students had they just huddled in the corner. Even if someone had called 9-1-1, average response time is around 7-9 minutes, and can be longer depending on many situational factors. Two minutes is enough time to kill everyone. Recall that one of the purposes of The Huddle is to permit observation of students for signs of trauma.
- Following The Huddle, the course continues and exposes students to topics related to stress and how it affects critical thinking, and to the acronym A.B.L.E.: Accept – Barricade – Leave – Engage. (Although, Engage is both introduced and taught after Scenarios #1-3).
- After instruction in the topics of accepting, barricading, and leaving are complete, students return to the simulation area for the three (3) remaining scenarios. With each scenario, a violent aggressor should spur students to respond by accepting, calling for help if possible, and either barricading or leaving the area. Each simulation is followed by a debriefing that recaps their actions and helps them recognize areas for improvement. Simulations #1 through #3 are conducted in sequence with each simulation followed by a debriefing before students are reassigned to new roles for the next simulation.
- Page 8
- D.
- Scenario #1: The Violent Patient
- Scenario #1 is meant to both demonstrate a common healthcare situation and how quickly a patient can escalate from merely upset to physically violent. Having a patient become aggressive is not uncommon. From yelling and spitting, to grabbing and striking, violence towards healthcare workers is widespread.
- Patients are suffering. They may have pain that is not controlled as well as they want, received upsetting, even devastating, news regarding their health, or even worry about how they will pay the hospital bill.
- For this scenario, a new actor (if available) is discreetly placed as the patient in one of the rooms. They can comment to the other students that they were held up and late to class in order to maintain their cover story and the element of surprise when they begin to act-up in the scenario. When sorting the students into their roles for this scenario, be conscious of who to put in the room with the violent patient. Do not place any student who has shown any signs of trauma or has related participation concerns.
- Pre-briefing instructions you will again provide to students remain the same. Students are typically waiting for one of the previous aggressors to enter and play out this scenario.
- “Go live” and see how the scenario plays out. Observe for signs of trauma as well as student actions taken.
- Take note of the following:
- Did students move into a corner of the room or move towards the door where they could escape? Are the students assigned to clinical staff positions moving to safety?
- Did any students call for assistance?
- Did the clinical staff move to provide safety for their patients and visitors?
- Observe what students do, and do not do, so you can provide feedback during debriefing. Take notes on your debriefing checklist to help you remember student actions.
- Page 9
- Debriefing this and remaining scenarios occurs in the simulation area, not back in the classroom. This discussion time is vital to helping students analyze the experience, their own actions and that of others, connect the results. This analysis and connection are what generates new response action pathways in the brain and moves them towards the survivor mindset.
- Debriefing Scenario #1:
- The focus of debriefing provides the opportunity for students to assess and reflect on their own actions or inaction during the scenario. Debriefing after Scenario #1 is the most scripted and the most instructor led because it is the first debrief held after class instruction. Debriefing for Scenarios #2-3 will include all of these same topics, but instructors should work to get the students to lead more and evaluate their own actions by asking questions of the students. Use the debriefing talk point checklist to guide your discussion.
- It is helpful to start the conversation with, “what things went well?” If no one initiates, offer one thing you saw that went well and allow room for further student comments. Another approach is to start on one side of the group and ask each student to provide a comment on what they did/saw that followed the lecture instruction.
- Transitioning into actions that could have been done differently includes having a pre-established list of training objectives or “talking points” for the debriefing sessions. These are customized to your facility’s policies and procedures.
- Page 10
- Secretary Paralysis
- Often during a simulation, the student assigned to the secretary or reception role will remain at the desk despite the increasing and clearly dangerous situation unfolding in front of them. Many reception positions require employees to remain at their posts, but do not address permission to leave. As you give permission to students to take the action, they need to stay safe, be sure to let people in this position that they can leave – that they need to give themselves permission to leave or take other action to protect themselves.
- Click here to access Video 19- Debriefing – Class Example
- Debriefing Talking Points
- When leading the debrief, use the following as a guide:
- Listening to your gut feelings and when to “flip the switch” to react.
- As discussed in the classroom, in many ways we have been conditioned in
- healthcare to de-escalate aggressive patients and try to help until the situation is resolved. This conditioning sometimes creates a mental hurdle blocking the ability to make decisions to keep you safe.
- When your gut says, “time to flip the switch”, you need to flip the switch
- to safety.
- Position or move yourself in the room to avoid being trapped.
- Closing doors . . .
- Closing doors when the environment is becoming noisy, loud, and distracting is a great
- first step in creating a barricade.
- Continue to monitor the situation for any further actions needed.
- Identify how to communicate within the immediate area to alert staff members and others.
- The mission is to tell people in the vicinity to take safety actions. For example, if a staff
- member closes the door because someone is yelling in another room, they may feel it is safe to walk out of the room when the situation outside has become dangerous.
- Actions include yelling, broadcasting over a Vocera or similar (personal communication
- device worn around the neck of staff), unit intercom system, or making individual phone calls.
- Page 11
- When a weapon is introduced, the need for a more significant response and safer solution is imperative (a game changer).
- Staff they are on their own until protective services arrive. Make that call for help quickly.
- Remind students that once the call for help is made, officers are on
- their way while the caller continues to provide details to the operator.
- Communicating as much detailed information as possible to
- responders will enhance the response.
- Review the details the students provided to the Operator during this scenario.
- Were details sufficient?
- Yes? Why were they?
- No? Why not?
- Discuss escape options with the class.
- Discuss moral obligations to patients versus self-preservation.
- Here are some guiding questions for use in debriefing:
- Did the bad manager’s actions make the situation worse?
- What early signs let students know that there could be a problem?
- Who was at risk in this scenario?
- Point out actions students took to keep themselves and others safe.
- What actions could have been done that were not?
- Did the students in the violent patient’s room move towards the door (to escape if
- needed) or did they move into the corner? Which would be most appropriate for this scenario?
- Were other patients protected by removing them from the area and closing the doors?
- Should the doors have been barricaded? How would that be done?
- Did the secretary/receptionist remain seated or leave the area?
- Did any caller leave the phone off the hook to allow the operator to hear what is
- happening?
- What student actions help keep others safe?
- What danger is there to others outside the area since the armed and violent patient has
- left?
- Did you provide updated information to first responders?
- When they arrive will they know the patient is using (whatever they are using) as weapon?
- In addition to providing realistic violent simulations, moving students toward a survivor mindset includes an honest review and assessment of their response to each scenario. Begin with the positives and allow students to evaluate and offer the beneficial actions they took. Add any actions they took but do not mention. Move then to areas and actions that could have been taken but were not. Again, guide the students in self-assessment. Add any missing actions they could or should have taken. Keep the debriefing positive and affirming of their ability to respond to workplace violence and their movement towards a survivor mindset.
- Page 12
- E.
- Scenarios and Debriefings #2 & 3
- In these scenarios we see more of The Violent Visitor and The Bad Manager and their interactions although the scenarios vary in why the aggressor is angry and what they do.
- I’ll
- be back . . .
- Scenario #2
- Scenario #2 involves a visitor who learned their spouse has a terminal illness. The visitor is clearly angry, leaves the area with threats like, “You are all dead. I’ll be back.” They then return with a weapon.
- This is important to provide instruction in noticing clues an aggressor may provide, through words or body language, of what you might expect. Ignoring these clues can lead to a warned escalation without law enforcement/security nearby or informed.
- Debriefing after scenario #2 will contain the same talking points except you will try to get students to offer more response with less leading on your part. If students do not offer, lead the debrief as previously described.
- Page 13
“Do they own a weapon?”
- Additional talking points:
- In addition to the talking points above, the debrief of Scenario #2 will include:
- Discuss whether law enforcement/security was notified of the initial threat.
- To validate or dispel the credibility of the threat, law enforcement/security will want to know information regarding the aggressor. This information can be gleaned by asking the family members:
- “What kind of car do they drive?”
- “Do you know where they are going?”
- “Should we be worried about them?”
- And possibly:
- “Are you afraid of them?”
- “Do you feel safe with them?”
- Discuss staff’s actions, in particular after the threat and before they return with a firearm.
- Additional discussion includes barricade of doors to keep from reentry.
- Accept, Barricade, and Leave review.
- At this point in the class, have the students practice yelling. Use of their “outside” voices to alert everyone around them to the situation.
- Instructor: “On the count of 3, you will yell ‘GUN, GUN, GUN!!’ --- Ready? 1 – 2 – 3 …”
- Students: “GUN, GUN, GUN !!!”
- Instruct and encourage students to yell “GUN, GUN, GUN!” during the simulation whenever a gun is presented.
- Scenario #3
- Scenario #3 involves a visitor who learned their spouse has a terminal illness. This time, the visitor is armed. [Use a different instructor as the aggressor if available].
- Debriefing Scenario #3 will include more student led inclusion of all the options available to them and what they did. Include all the talk points as before and highlight the following:
- When to call and what to say (Accept).
- What to report – how to describe.
- When to Leave.
- How to Leave.
- When to Barricade.
- How to Barricade.
- How to assure an escape route from a patient’s room, or other location.
- Page 14
Next up . . .
- Scenario #3 is intended to be identical to the Initial Simulation (baseline) as student performance is to be compared with their baseline. Student response can be compared using the Bad Manager’s shove on the aggressor’s chest and seeing how long after the shove students complete their responses.
- IV.
- Next up: Tools of Engagement
- Module 7 presents the final action: Engage. This section of the course can be instructor led, video led, or a combination.
- This material was produced under grant number SH-05150-SH9 awarded to Summa Health from the Occupational Safety and Health Administration, U.S. Department of Labor. It does not necessarily reflect the views or policies of the U.S. Department of Labor, nor does mention of trade names, commercial products, or organizations imply endorsement by the U.S. Government.
More on Workplace Violence
pdf
2 slidesWorkplace Violence Fact Sheet (OSHA FS-3509)
OSHA fact sheet or bulletin, for General Industry classes.
U.S. Department of Labor, OSHAPublic domain
pdfes
2 slidesWorkplace Violence Fact Sheet (OSHA FS-3524) (en español)
OSHA fact sheet or bulletin, in Spanish, for General Industry classes.
U.S. Department of Labor, OSHAPublic domain
pdf
60 slidesWorkplace Violence: Guidelines for Preventing Workplace Violence for Healthcare and Social Service Workers (OSHA 3148)
OSHA booklet, for General Industry classes.
U.S. Department of Labor, OSHAPublic domain