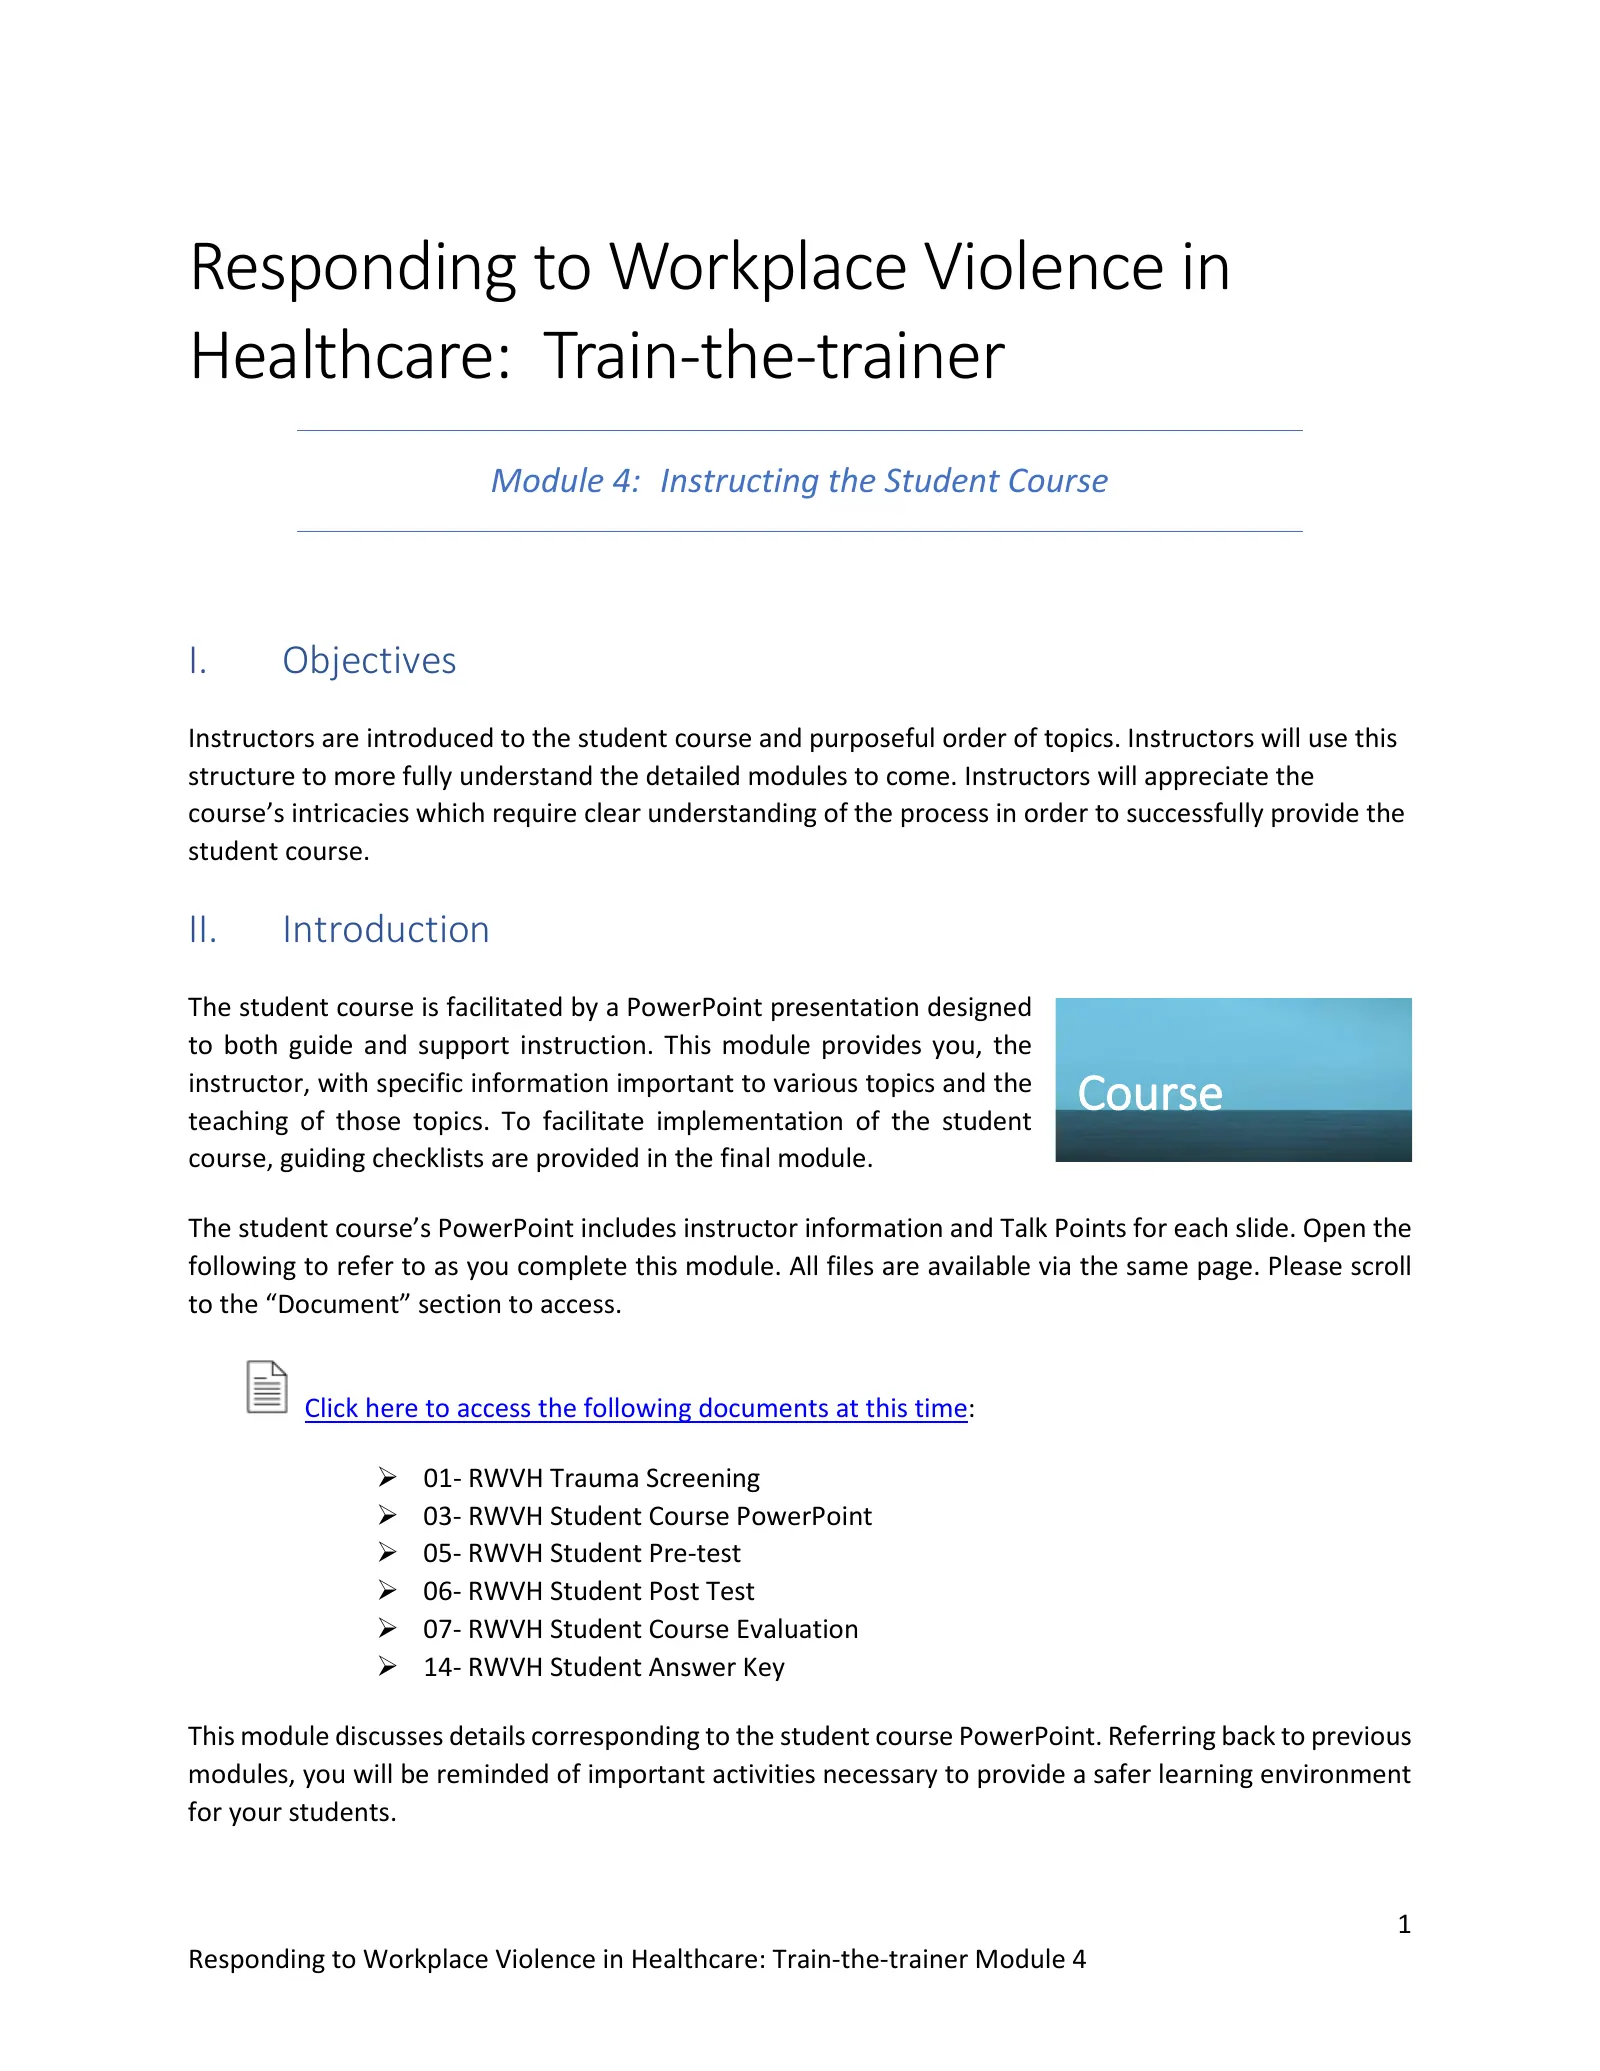
1 / 14Use ← → to flip
Responding to Workplace Violence: Train-the-Trainer Module 4: Instructing the Student Course
Trainer manual chapter for the Responding to Workplace Violence course.
Page text
· 14 pages · by Summa Health
The words on each page as the author wrote them, read from the file by software so they can be searched. Layout, pictures and tables are not shown here: the pages above and the download are the original.
- Page 1
Responding to Workplace Violence in Healthcare: Train-the-trainer
- Module 4: Instructing the Student Course
- I.
- Objectives
- Instructors are introduced to the student course and purposeful order of topics. Instructors will use this structure to more fully understand the detailed modules to come. Instructors will appreciate the course’s intricacies which require clear understanding of the process in order to successfully provide the student course.
- II.
- Introduction
- The student course is facilitated by a PowerPoint presentation designed to both guide and support instruction. This module provides you, the instructor, with specific information important to various topics and the teaching of those topics. To facilitate implementation of the student course, guiding checklists are provided in the final module.
- Course
- The student course’s PowerPoint includes instructor information and Talk Points for each slide. Open the following to refer to as you complete this module. All files are available via the same page. Please scroll to the “Document” section to access.
- Click here to access the following documents at this time:
- 01- RWVH Trauma Screening
- 03- RWVH Student Course PowerPoint 05- RWVH Student Pre-test
- 06- RWVH Student Post Test
- 07- RWVH Student Course Evaluation 14- RWVH Student Answer Key
- This module discusses details corresponding to the student course PowerPoint. Referring back to previous modules, you will be reminded of important activities necessary to provide a safer learning environment for your students.
- Page 2
III. Student Course Outline
- A.
- Prior to class
- Enrollment
- Trauma Screening
- Pre-test
- B.
- Lecture and Simulations
- Introduction of Instructors
- Initial Simulation (Baseline)
- Baseline Knowledge
- Introduction to Course
- Survivor Mindset
- Workplace Violence
- Past “Crisis” Training
- The Huddle Mini Simulation
- Stress and Critical Thinking
- Intuition
- Response Options: A.B.L.E.
- Accept
- Take control
- Take action
- Barricade
- Where and how
- Facility Lockdown Policy
- Leave
- What to expect
- [Engage - follows simulations]
- Simulations:
- Scenario #1 & Debrief
- Scenario #2 & Debrief
- Scenario #3 & Debrief
- Final Response Option:
- Engage
- Individual techniques
- Group technique
- “The Swarm”
- Review of A.B.L.E and course topics
- Review of actions from Initial Simulation to Scenario #3 (final simulation)
- Post Test
- Evaluation Survey
- Page 3
IV. Enrollment, Trauma Screening, and Pre-test
- Use of a Learning Management System (LMS) is helpful to facilitate the process for enrollment. Upon enrollment, students are required to complete the Trauma Screening (within LMS). This self-assessment is the initial mitigation strategy to address trauma risk. Everyone continuing in the course will then complete the Pre-test.
- A.
- Trauma Screening (Self-assessment)
- The Trauma Screening is the same screening you completed at the beginning of this course. Introduce your screening by providing a description, background, and course clarification regarding past trauma. Follow with instructions and questions. After each student has the opportunity to review and consider the question, offer their options for either agreeing to participate or opting out. It is important to provide the information and questions to allow each student to seriously consider the topic and their decision.
- NOTE: Participation is voluntary. Ensure that employees are in no way penalized for opting out of the course.
- Discuss with the appropriate departments at your facility regarding the training, screening, and attestation. Do not move forward with training without approval from appropriate departments.
- B.
- Pre-test (Self-assessment)
- For students continuing in the course, a pre-test is given to provide a baseline with which to measure student progress. The pre-test provided includes the following questions, but you may alter the language to meet your facility:
- 1. If you experienced a workplace violence situation today that involved a hostage, person with a weapon, or active shooter, how prepared do you feel overall?
- 2. How prepared do you feel you are to protect yourself?
- 3. How prepared do you feel you are to protect your patients, visitors, or clients?
- 4. How confident are you in your ability to immediately be able to get or provide help during a workplace violence situation?
- Each question is then rated on a Likert-type scale 1 from 1 to 5 as follows:
- 0F
- Not at all
- Somewhat
- Fairly well
- Well
- Very well
- Page 4
V. Student Course Introduction
- The results of the pre-test will be compared to that of the post-test (using the same questions) when completed. Think about the goals and objectives of the course and how important your instruction, simulations, and student experiences are in moving students towards “well” and “very well” responses.
- The introduction slides provide the opportunity to welcome students, thank them for attending this important training, and introduce the instructors. Ensure everyone has signed in on the attendance sheet as this is used when selecting names for our actors to call out (to avoid use of attendee names). Before moving to the simulation area, remind students they can observe if they are not comfortable participating in the simulations.
- Move to the simulation area, leaving all items at their desks, and provide instructions. Utilize your Instructor Checklist to ensure you provide a thorough introduction to the simulations and all student instructions.
- Review the Student Course and the Instructor Talk Points documents as you work through the remaining Train-the-trainer course.
- A.
- Initial Simulation (Baseline)
- There is no student instruction on how to respond to violence prior to this Initial Simulation. There is, however, a detailed prebriefing prior to this initial simulation to provide the rules and procedures for this and all following simulations. After the prebriefing, students will either receive their wardrobe and scenario role, or move to an area outside the “in-play” zone if accommodations were requested.
- Student actions during this initial simulation will vary based on individual levels of experience and comfort with the activity. The purpose of the initial simulation is to provide a baseline of student response – how do they react before instruction? The last simulation, Scenario #3, follows the same storyline. This allows a true comparison between student progress in the initial simulation (baseline) and their actions during the last simulation (after instruction).
- NOTE: Be sure to review the attendee log and select a doctor name to seek that is not the same name of anyone in attendance.
- Page 5
A brief description of the Initial Simulation
- Students play the following roles:
- Patients Visitors Receptionist Clinical staff
- Instructors play the following roles:
- Aggressor: A visitor who is angry after learning of their spouse’s death. This visitor is actively looking for the doctor they blame and become very aggressive and threatening.
- Manager: The nurse who interacts with the aggressor, actually in a dangerous way, resulting in an escalation in violence. This allows time for the students to react to the situation. [Manager also provides the needed observation of students for signs of trauma].
- Operator: The operator who fields any phone calls for help.
- Responder: The responder who enters appropriately based on operator provided details gained from any student calls.
- NOTE: Simulations require four (4) instructors. If there are only three (3) instructors, there would be no responding officer actor.
- Further information on the pre-briefing and simulations are provided in the next module.
- VI.
- Baseline Knowledge
- Students return to the classroom after the initial simulation. The instructor begins class by explaining the first scenario is designed to get your heart rate up and make you start to think about how you would react. There is to be no mention of the fact that the last simulation is the same scenario.
- Inquire into previous training students may have had. Non-violent Crisis Intervention is a course many healthcare workers take. This course today is not a substitute for NVCI, but rather builds on by providing strategies for when deescalation does not work.
- Page 6
- This next portion of the course takes student reactions in the initial simulation and builds on to them with improved options for taking action and improved mindset. Discussion of workplace violence, examples, and statistics are presented. The question, “Will it happen here?” is an important look at the real risk faced by healthcare providers every day. You will discuss previous types of disaster training, such as fire or tornado drills, and the lockdown drills students participate in today.
- A.
- The Huddle: 2-minute egg timer
- The Huddle is an example of how many people react when confronted with aggressors. You will discuss how stress affects critical thinking and response to stressful situations. Review The Huddle – Class Example. Notice again how while one instructor is the violent aggressor, another instructor is scanning the students for signs of trauma.
- After The Huddle, a short debriefing activity includes a discussion on how long the timer went. Students frequently think it was longer than two minutes. Additionally, the aggressor could have shot every one of the students had they just huddled in the corner. Even if someone had managed to call 9-1-1, the standard response time is over 5-7 minutes, and can be longer. There was plenty of time to shoot them all.
- The need to care for these students is great and must be managed quickly. Seek out the proper care of licensed professional if necessary. Be comfortable having a conversation with the participant and pulling them to the side to ensure their safety and wellbeing.
- NOTE: Be sure to review the attendee log and select a name to seek that is not the same name of anyone in attendance.
- VII. Response Options: A.B.L.E.
- Acronyms are an important part of student learning and recall. This course utilizes the acronym A.B.L.E. as students are able to respond to workplace violence.
- Accept – Barricade – Leave – Engage
- Page 7
- A.
- Accept
- The core of violence response begins with accepting what is happening. When you accept what is happening, you will be better able to assess and react with a survivor mindset. Part of realizing what is happening can be a visceral response to your surroundings and the actions of others. There may be clues to pick up on that tell you something is not right.
- As instructors, you will need to develop instruction to help students better understand how our Gut Feelings can be early signs that somethings amiss. When instructing, minimize the use of joking around during this section as you want your students to listen to their “red flags” and accepting their “gut feelings”. Sharing personal experiences can help you relate to your students and provide meaningful instruction to hit home the importance of listening to your gut feelings when it comes to safety.
- Intuition: The Gut Feeling
- These next videos provide an example presentation and corresponds to the “Gift of Intuition” slide. This instructor, a commander in the hospital police department, uses personal experiences to drive home this topic. Thinking about your own experiences can make this section more meaningful to your students.
- Click to access Video 06- Introduction to Intuition – Class Example
- Click to access Video 07- Intuition: Are You Listening? – Class Example
- Click to access Video 08- Intuition: Trust Your Gut Feelings – Class Example
- The Right to Survive: Accepting and Action
- After students accept what is happening, they need to act. You will provide review and details of how to alert first responders of the situation. Each facility is different. The customizable slides allow you to add your facility’s procedures for how to call for help. Review your emergency response guidelines, language, and policy. Ensure your students understand what is expected of them during a crisis as this may vary by position in the organization.
- Page 8
- The slides walk students through what to notice and report when making the call. Be sure to train students to make additional calls if the situation changes to update responders if safe to do so. Imagine being a responder and not knowing the situation you are entering involves a firearm. The response approach changes when a weapon is present.
- What Would You Have Done?
- The following video is a dramatization of what might happen if an active shooter entered a patient floor. After the video, ask for student ideas on what they could have done differently given the same situation.
- Click to access Video 09- SIMULATION Patient Room Active Shooter
- The following topics of Barricade, Leave, and Engage, while presented in that order, are not necessarily the order in which any individual or group would react. These options are considered equally as the situation unfolds and response decisions are made.
- Page 9
B arricade
- NOTE: It is recommended that you meet with your local emergency response personnel to learn more about how to tailor your facility’s response to a violent situation. This will allow you to offer additional insight to students and provide instruction that is customized to your facility.
- B.
- One option is to Barricade: create a barrier between you and the aggressor. Just hiding is not likely enough.
- Complete a thorough review of barricading options with your instructional team. Meet with your facility’s security team to review all areas with attention to spaces where barricading is not quickly and easily completed. Collaborate with your security team, or local first responders, to identify areas where barricading is a challenge or impossible and develop ways in which those areas can be secured if possible.
- Ask the following types of questions and develop solutions:
- How would you keep an aggressor from opening a patient room or office?
- Are there large sliding glass door-walls that do not lock? Is it possible to secure them?
- Does any patient area have only curtains between patient “rooms”? What would be the best option in this case?
- Develop options for barricading in all areas where possible. Provide the materials or tools required to complete the barricade and ensure these items are readily accessible at all times. Customized slides should be added to your presentation to provide instruction on barricading in your facility specifically if needed.
- C.
- L eave
- Another option is to Leave: put as much distance between you and the aggressor as possible. When in danger, take those around you and get away.
- Leaving the building will likely bring you into contact with emergency responders. Teach students what to expect and how to act when they are leaving, and law enforcement is coming in. The police arrive with clear intent: to locate and secure the aggressor. They are aware of only what was disclosed by the caller to the operator, and they do not know if you personally are a threat.
- Page 10
E ngage
- Law enforcement also knows there may be additional threats and it is important that students understand and experience what might happen when they encounter law enforcement arriving on scene and how they should respond.
- Responding officers will likely command you to, “SHOW ME YOUR HANDS!” as they approach and seek the armed aggressor. Be sure to incorporate this into your simulation training.
- D.
- Engage is not discussed at this point. Following Leave, the class will move to the simulation area and participate in Scenarios #1-3. Engage is taught after these simulations.
- VIII. A.B.L. Review and Simulations
- A.
- Reviewing the Options
- The choice you make depends on the situation you face, at the time you face it, in the conditions present around you.
- If you cannot Leave, you might Barricade. If you cannot Barricade, you might Leave. If you cannot Barricade or Leave, you might Engage. These are all options, and each student should begin to think about why and when they may elect one over another.
- B.
- Simulations and Debriefings
- The simulations are designed to elicit a stress response in students who are then asked to react by:
- Accepting what is happening and call for emergency response if safe to do so, using the guidance provided in class, and
- Take action to keep themselves and those around them safe by either barricading or leaving, again, using guidance from class.
- Page 11
- There are three (3) simulations with each scenario different and escalating in aggression. Simulations offer students the chance to consider what they would do in the situation and then act on their choices in the moment and under stress. The simulations follow each other directly. Each simulation is followed by a debriefing conducted prior to the next simulation. Recall that the Initial Simulation completed at the beginning of class does not include a detailed debriefing as this simulation experience is prior to class instruction.
- Debriefing is an instructor led opportunity that guides students in review of their (and other’s) actions during the situation presented. The debrief after Scenario #1 is to be the most guided, using student feedback to start off and ensuring all response options are reviewed. Students are reminded of what was covered in class, discuss what response was taken during the simulation, and brainstorm ways to improve their response in the next simulations.
- Scenarios at-a-glance:
- Scenario #1 involves a patient who becomes aggressive and uses a piece of medical equipment as a weapon.
- Scenario #2 involves a visitor who learned their spouse has a terminal illness. The visitor is clearly angry, leaves the area, and returns with a weapon.
- Scenario #3 involves a visitor who is angry after learning of their spouse’s death. This visitor is actively looking for the doctor they blame and become very aggressive and threatening. The visitor is armed.
- Following the last simulation, students return to the classroom and discuss how responses changed. If your simulation space has recording capabilities, you can view side-by-side videos. Your simulation center manager can prepare this video comparison while you present the next section: Engage.
- Students return to the classroom area after the last simulation and debriefing.
- IX.
- Final Response Option: Engage
- The last option is to Engage: physically confront the aggressor.
- Physically engaging with the aggressor is an option of last resort. During this section, six (6) techniques are introduced to students: five (5) individual, and one (1) group. Demonstration by instructors and practice by students provides options for defense in a selection of common forms of attack. You will discuss the survivor mindset and provide instruction on being prepared to engage.
- Page 12
Tools of Engagement:
- Individual
- General defense: Hammer Strike
- Wrist Grab: Snake and the Vine
- Hair Pull: Be a Ballerina
- Front Choke: Major League Pitcher
- Rear Choke: Squash the Bug
- Group
- Armed Aggressor: The Swarm
- These defense techniques are taught by instructors and practiced by students individually, in pairs, and as a group. Video instruction is provided for instructors and is also suitable for viewing in class.
- Page 13
I WILL TAKE ACTION , AND I WILL SURVIVE .”
- X.
- Student Course Wrap-up
- A.
- Review
- The course concludes with a review the goals and objectives and a discussion how student’s responses progressed from the initial to last simulation. Reiterate how the options are not in any particular order but are flowing responses to the ever-changing situation.
- As a group, have students and instructors recite with bold confidence the following statement affirming their commitment to responding:
- “W HEN CONFRONTED WITH VIOLENCE ,
- I WILL NOT FREEZE.
- If available, view the recordings of the first and last simulations side-by-side. Point out actions and improvements to affirm how students have moved towards the survivor mindset.
- B.
- Post test
- After class, students complete the post-test. The post-test contains the same questions as the pre-test. Compare the pre- and post-test responses to gain insight into your course’s effectiveness towards the goals and objectives.
- C.
- Evaluation
- After the post-test, have each student complete the evaluation. This provides additional feedback for the instructors to consider as far as what students found helpful and suggestions they offer. Use this feedback to improve instruction and training for the next class of students.
- Page 14
Next up . . .
- XI.
- Next Up: Roles and Roleplaying
- Module 5 presents a detailed look at the roles and roleplaying involved in the simulations.
- This material was produced under grant number SH-05150-SH9 awarded to Summa Health from the Occupational Safety and Health Administration, U.S. Department of Labor. It does not necessarily reflect the views or policies of the U.S. Department of Labor, nor does mention of trade names, commercial products, or organizations imply endorsement by the U.S. Government.
- Jamieson, Susan. “Likert Scale.” Encyclopædia Britannica, Encyclopædia Britannica, Inc., www.britannica.com/topic/Likert-Scale.
More on Workplace Violence
pdf
2 slidesWorkplace Violence Fact Sheet (OSHA FS-3509)
OSHA fact sheet or bulletin, for General Industry classes.
U.S. Department of Labor, OSHAPublic domain
pdfes
2 slidesWorkplace Violence Fact Sheet (OSHA FS-3524) (en español)
OSHA fact sheet or bulletin, in Spanish, for General Industry classes.
U.S. Department of Labor, OSHAPublic domain
pdf
60 slidesWorkplace Violence: Guidelines for Preventing Workplace Violence for Healthcare and Social Service Workers (OSHA 3148)
OSHA booklet, for General Industry classes.
U.S. Department of Labor, OSHAPublic domain