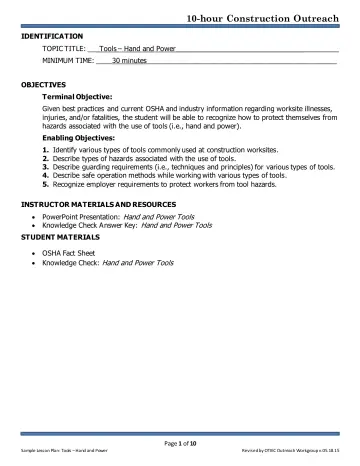
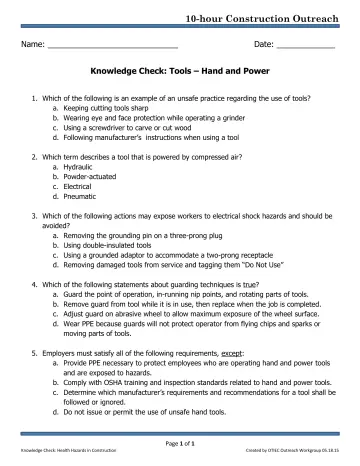
Short hand tool safety deck from Northwestern University's youth shop safety program; simple and visual.
Slide text
· 16 slides · by Northwestern University
The words on each slide as the author wrote them, read from the file by software so they can be searched. Layout, pictures and tables are not shown here: the slides above and the download are the original.
- Slide 1
Introduction to Hand Tool Safety
- This material was produced under Susan Harwood grant number SH-31214-SH7 Occupational Safety and Health Administration, U.S. Department of Labor. The contents in this presentation do not necessarily reflect the views or policies of the U.S. Department of Labor, nor does the mention of trade names, commercial products, or organizations imply endorsement by the U.S. Government.
- Slide 2
Introduction: What are hand tools?
- Hand tools are used for chopping, chiseling, sawing, filing, forging, and measuring, amongst other things. They have been used since the Stone Age and uniquely used by humans to make things.
- Many hand tools have evolved over time – some changed a lot and some remained with slight modifications.
- Various hand tools
- Slide 3
Safety: Who is OSHA?
- With the Occupational Safety and Health Act of 1970, Congress created the Occupational Safety a nd Health Administration (OSHA) t
- assure safe and healthful working conditions for working men and women by setting and enforcing standards and by providing training, outreach, education and assistance.
- OSHA is part of the United States Department of Labor. The administrator for OSHA is the Assistant Secretary of Labor for Occupational Safety and Health. OSHA's administrator answers to the Secretary of Labor, who is a member of the cabinet of the President of the United States.
- Slide 4
Safety: Know your rights
- Under federal law, you are entitled to a safe workplace.
- employer must provide a
- Your
- workplace free of known health and safety hazards.
- you have concerns, you have
- If
- the right to speak up about them without fear of retaliation. You also have the right to:
- Be trained in a language you understand
- Work on machines that are safe
- Be provided required safety gear, such as gloves or a harness and lifeline for falls
- Be protected from toxic chemicals
- Request an OSHA inspection, and speak to the inspector
- Report an injury or illness, and get copies of your medical records
- See copies of the workplace injury and illness log
- Review records of work-related injuries and illnesses
- Get copies of test results done to find hazards in the workplace
- Slide 5
Hazards: Machine-related injuries
- Possible machine-related injuries include:
- Crushed fingers or hands
- Amputations
- Blindness
- Blindness is a possible machine-related injury
- Slide 6
Hazards: Point of operation
- The Point of Operation is the area on a machine/tool where the work is actually performed on the material being processed – highlighted in red on the blade of this hand saw.
- The point of operation of a hand saw
- Slide 7
Hazards: Nip points and rotating parts
- In-running nip points are commonly found among rotating or reciprocating parts. They occur in two scenarios:
- When machine parts move toward each other
- When machine parts run past a stationary object
- Examples of nip points in different mechanisms
- Slide 8
Hazards: Power hand tools
- Operating of power tools involves exposure to to the following risks:
- Power transmission device
- (motor)
- Operating controls and switches
- Falling, flying, abrasive, splashing objects
- Harmful dusts, fumes, mists, vapors, gases
- The operating switch of a power tool
- Slide 9
Hazards: Hand tool misuse
- Use each tool ONLY for the purpose it was made for.
- Notice here that the chisel has come apart and cannot be used without its handle.
- A misused hand tool broke, making it unsafe to use
- Slide 10
Hazards: Power tool misuse
- Use each tool at the proper place
- the picture shown at the right is not the correct place to use a circular saw
- A misused power tool puts the user in danger
- Slide 11
Hazards: Best practices
- Set the guard to clear stock/workpiece
- Wear Personal Protective Equipment (PPE) at all times
- Clean up and clear work area
- An example of hazard signage
- Slide 12
Safe Operation: Before use
- Select the right tool for the job and use the tool ONLY for the job it is made for.
- Read and follow manufacturers’ instructions.
- Examine each tool for damage.
- An example of selecting a suitable tool for a task
- Slide 13
Safe Operation: In use
- Use the right Personal Protective Equipment (PPE) at all times.
- Do NOT wear loose clothing or jewelry.
- Make sure to secure your workpiece with a vise or clamp as shown to the right.
- An example of a properly secured workpiece
- Slide 14
Safe Operation: In use (continued)
- Hold the tool ONLY by the handle and maintain good posture.
- The figure to the right shows a person drilling the woodblock secured on a vise, with one hand on the handle and the other one securely holding the drill.
- An example of proper power tool use
- Slide 15
Safe Operation: Working environment
- Keep workplace floors clean and dry.
- Keep cords away in designated space.
- Keep a safe distance from others when using the tool.
- An example of a safe working distance
- Slide 16
Safe Operation: After use
- Unplug and disengage tool from power source – do NOT yank the cord.
- Disconnect whenever not in use.
- Keep fingers away from the switch when carrying plugged-in tools.
- An example of a safe way to carry a power tool